Step 3: Install Desk/Table Top Phones (Continued)
5
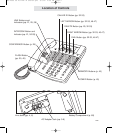
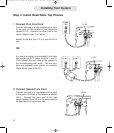
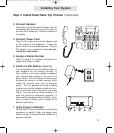
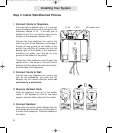
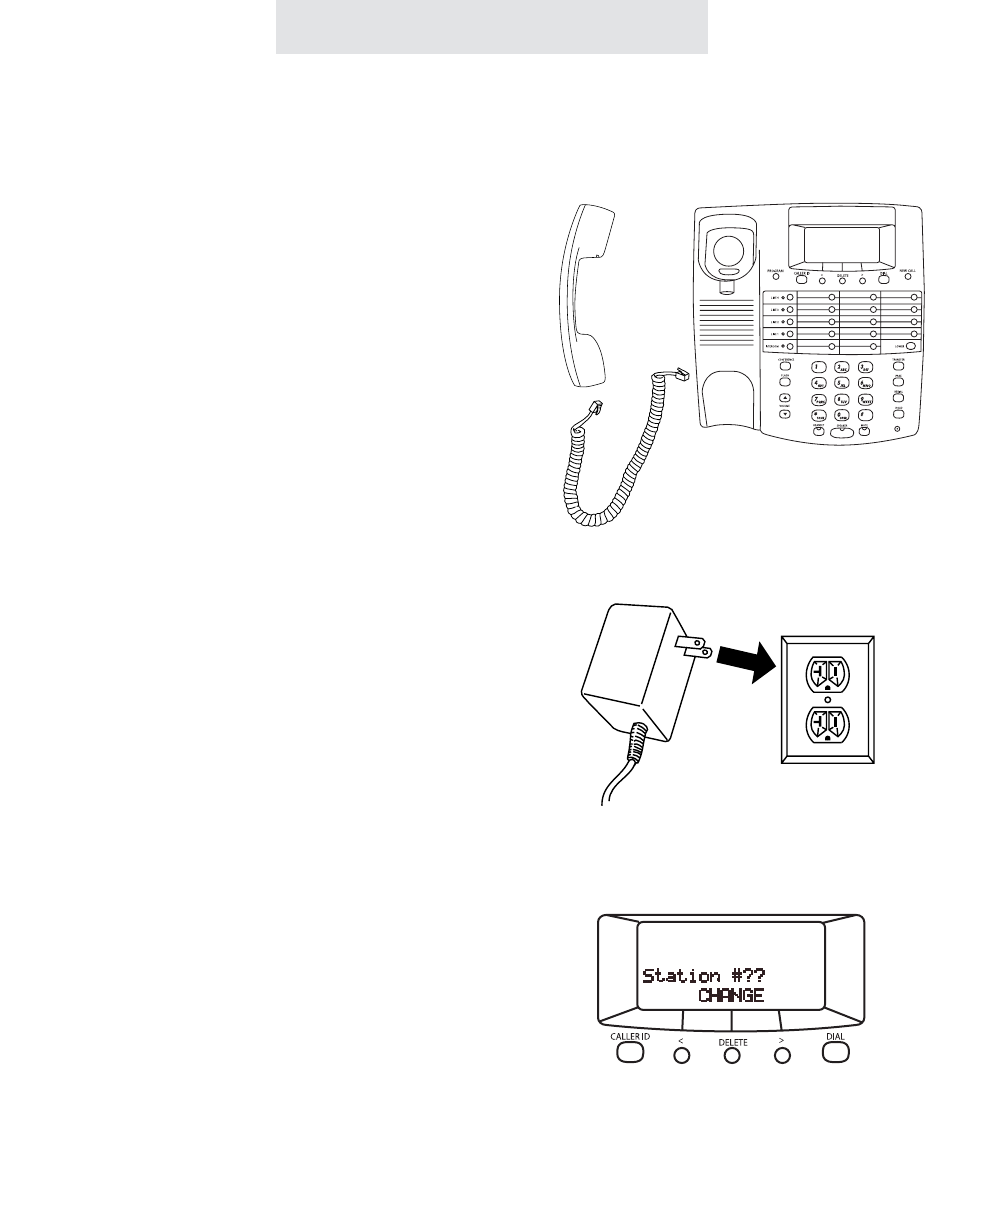
3 Connect Handset
Plug either end of the coiled handset cord into
the handset and the other end into the jack on
the side of the telephone. Place the handset in
the cradle.
4 Connect Power Cord
Plug the AC power cord into the adapter jack
on the bottom of the telephone. Thread the
power cord into the recessed groove. Plug the
AC adapter into an electrical outlet not con-
trolled by a wall switch.
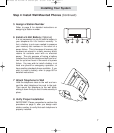
5 Assign a Station Number
Refer to page 8 for detailed instructions on
assigning a station number.
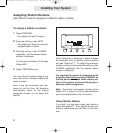
6 Install a 9-Volt Battery (Optional)
It is not necessary for you to install a battery in
your telephone for it to function normally. In
fact, a battery is not even needed to preserve
your memory dial numbers in the event of a
power failure. This is because all memory dial
numbers are stored in a static memory which
retains its contents even with no electrical
power. The only purpose of having a battery
installed is so that the telephone itself can func-
tion for up to two hours in the event of a power
failure. You may wish to install a battery in at
least one phone for emergency operation, or
have another standard phone available. If you
wish to install a battery, refer to page 68 for
detailed instructions.
7 Verify Proper Installation
IMPORTANT: Please remember to perform the
procedure on page 9, after you assign each
station number, to verify that each telephone is
properly installed.
Installing Your System
SBC-4000 UG for PDF v4 040702.qxd 4/7/02 4:00 PM Page 15


