


Chapter 2- Component Replacement
2-14
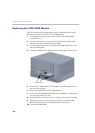
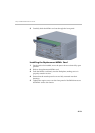
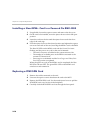
Installing a New MPM+ Card in a Powered On RMX 4000
1 If applicable, loosen the captive screws and remove the slot cover.
2 On the card to be installed, move the ejector levers to their full open
position.
3 Insert the card into the slot until the ejector levers touch the front
edge of the card cage.
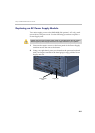
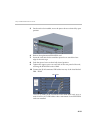
4 Push the ejector levers to their closed position and tighten the captive
screws on each side of the card, securing the MPM+ card to the RMX.
The blue HS LEDs on the MPM+ card and the Control Unit start
flashing and the power on cycle for the card is initiated:
— The card’s resources are added to the system resources list
— The number of available ports on the RMX is increased to the
current CFS license level
— Port usage is re-calculated and the Port Gauges and Video/Voice
Port Configuration are updated
When the power on cycle of the MPM+ card is completed, the blue
HS LEDs will turn OFF. The green RDY LED on the MPM+ card
switches on and remains lit.
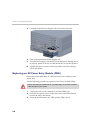
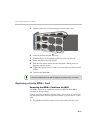
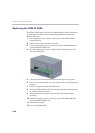
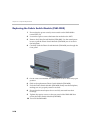
Replacing a RTM ISDN Card
1 Remove the cables connected to the card.
2 Unscrew the captive screws that fasten the card to the MCU.
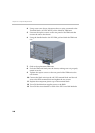
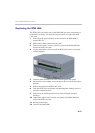
3 Remove the RTM ISDN card. Use the metal ejector levers to pull the
RTM ISDN card out of its slot in the backplane.
4 Carefully slide the RTM ISDN card out through the front panel.