


Polycom RMX 4000 Hardware Guide
2-7
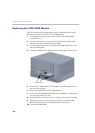
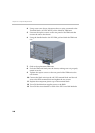
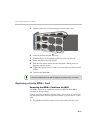
4 Carefully slide the PEM unit out from the rear slot.
5 Slide in the replacement PEM unit.
6 Push the PEM unit firmly into the Power Supply, making sure it is
properly seated in its slot.
7 Tighten the captive screws on the rear panel of the PEM unit to the
rear chassis.
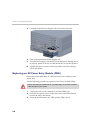
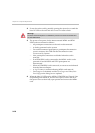
Replacing a DC Power Rail Module (PRM)
On the rear of the RMX 4000 two DC Power Rail Modules are fitted, each
with their own power cord.
Use the following procedure to replace a DC Power Rail Module:
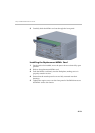
1 Turn OFF the circuit switch on the each of the DC PRMs and from the
Mains.
2 Verify that DC PRM unit you are about to replace on the RMX 4000 is
not HOT or has any Live current feed.
3 Remove the plastic cap fitted to the Terminal block that protects the
direct current connections.
• Please verify the type of PRM used on your RMX 4000. Do not insert a
Power Rail Module of a different type on your system.
• When replacing a DC Power Rail Module:
On the Mains, disconnect the electricity that supplies direct current running
through the power cable to the failed DC PRM.