


46 Rino 520HCx and 530HCx Owner’s Manual
MaIn Menu
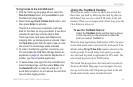
Using Track Proles
Once you have saved a track, you have an elevation*
profile as well. (Rino 530HCx Only)
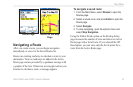
To view a Track Prole:
1. With the Saved Track page for the track shown,
use the option menu to select Prole.
2. Press Enter to view the Track Prole.
3. At any point on the prole, press Enter to view that
point on the map.
4. Open the options menu to use Zoom Ranges and
Hide Symbols. To zoom ranges only, press up or
down on the Rocker.
*Track Elevation Profiles are created from Digital
Elevation Models (DEM) maps (MapSource US Topo).
When these types of maps are available, a Use Map Data
- Use Track Data option menu appears when you select
Profile. Refer to the Garmin Web site:
www.garmin.com/cartography/ontheTrail/, for more
information about MapSource US Topo maps.
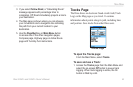
Routes
Use route navigation to create a path to a destination with
turn-by-turn directions. The Rino stores 50 routes with up
to 250 points each.
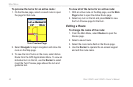
To create a route:
1. From the Main Menu, select Routes.
2. Use the Rocker to select New to open the Route
page.
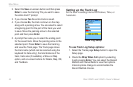
3. With the <Select Next Point> eld selected, press
Enter to open the Find Menu.
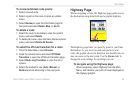
4. Select a route location from one of the Find Menu
categories, and open the information page for the
selected location, city, exit, point of interest, and so
on.
5. Select Use to add it to the route.
6.
To add more points to the route, repeat steps 3 to 5.
7. Select Navigate to begin navigating.