


1 Getting started
Command interface
11
• Set up a partnership so you can synchronise information between your
handheld and your computer
• Customise your synchronisation settings
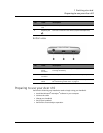
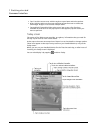
To perform the first synchronisation process
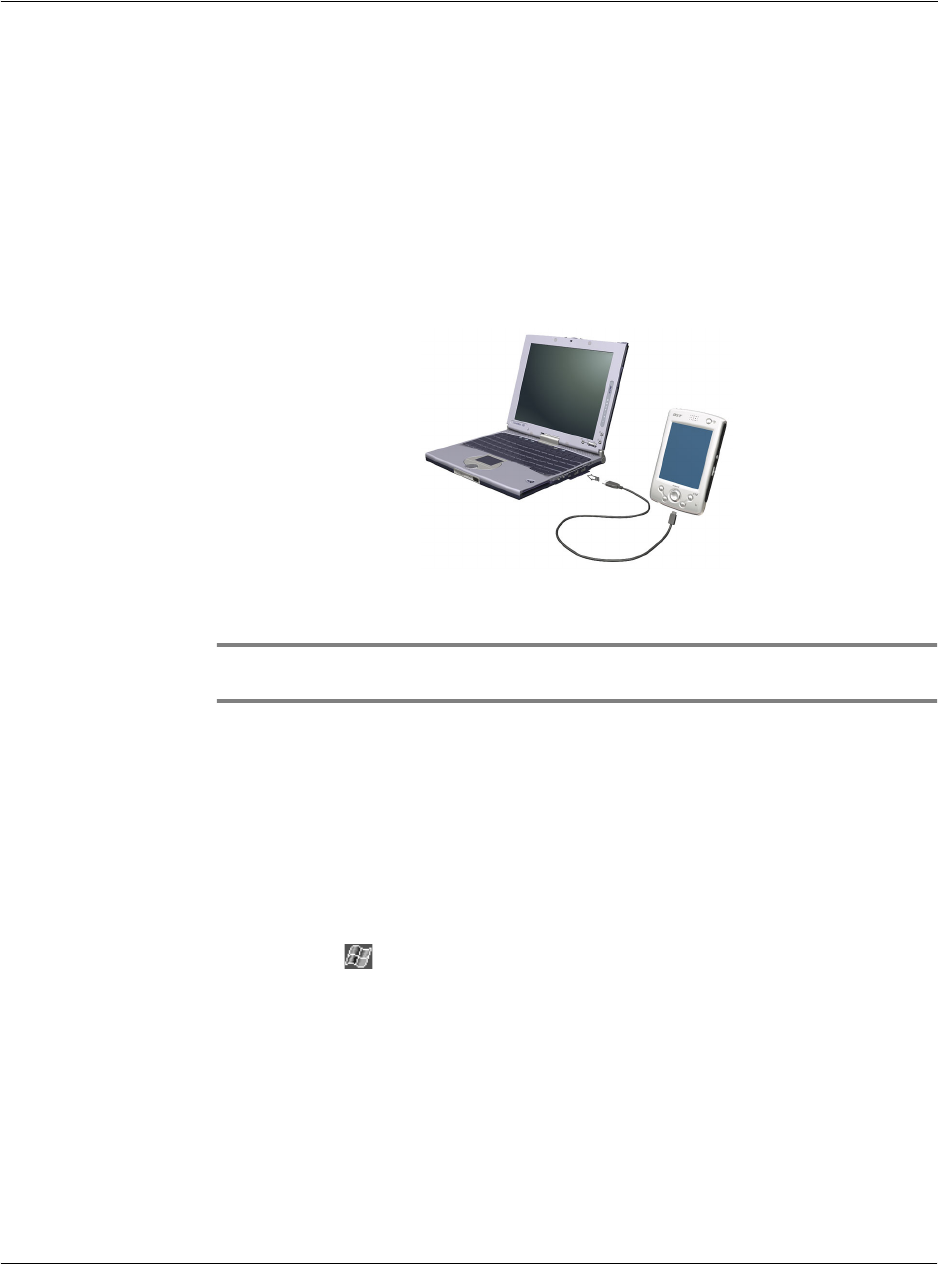
1 Connect the USB sync cable to your handheld.
2 Plug the USB connector into a USB port on your computer.
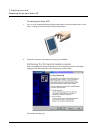
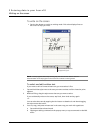
The 'New Partnership' setup wizard will automatically start on your computer screen.
NOTE: If the wizard does not automatically appear, launch ActiveSync on your computer by
clicking on its icon from Start>Programs.
3 Follow the onscreen instructions.
The first synchronisation process will automatically begin when you finish using the
wizard.
After your first synchronisation, take a look at Calendar, Contacts, and Tasks on your
handheld. You'll notice that information you've stored in Microsoft Outlook on your
computer has been copied to your handheld, and you didn't have to type a word.
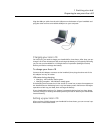
Disconnect your handheld from your computer and you're ready to go!
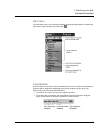
Once you have set up ActiveSync and completed the first synchronisation process, you
can initiate synchronisation from your handheld. To switch to ActiveSync on your
handheld, tap , and then tap ActiveSync.
Command interface
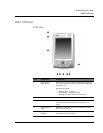
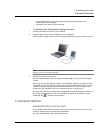
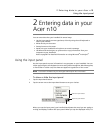
Handheld buttons and the stylus
Your handheld has hardware buttons that control actions and scroll functions, and a
stylus for selecting items and entering information.
On your handheld, the stylus replaces the mouse.