


9 Getting connected
Connecting to a network
93
5 In the Select a modem list, select your modem type.
If your modem type does not appear, try reinserting the modem card.
6 You should not need to change any settings in Advanced. Most servers now use a
dynamically-assigned address. If the server you are connecting to does not use a
dynamically-assigned address, tap Advanced and then the TCP/IP tab and enter the
address. When finished, tap OK and then Next.
7 Enter your username, password and domain (if any), and tap Finish to complete the
process.
To start the connection, simply start using one of the following programs. Your
handheld will automatically begin connecting.
To create an Ethernet connection to a network
1 Get the following information from your network administrator:
• User name and password
• Domain name
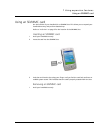
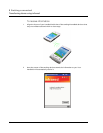
2 Insert the Compact Flash Ethernet card (purchased seperately) into your handheld’s CF
slot.
NOTE: For instructions on inserting and using a CF Ethernet card, see the documentation
that came with the card.
The first time you insert the card, Network Settings will appear automatically so that
you can configure the Ethernet settings. Most networks use DHCP, so you should not
have to change these settings unless your network administrator instructs you to do
so.
NOTE: If Network Settings does not appear or you wish to change settings later, tap
and then Settings. On the Connections tab, tap Network, tap the adapter you want to
change, and then tap Properties.
3 Tap OK.
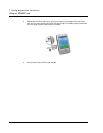
4 Connect the Ethernet card to the network by using a network cable.
5 Tap , Settings, Connections tab, and then Connections.
6 From the My network card connects to list, select Work.
To start the connection, simply start using one of the programs listed in the preceding
section. Once connected, you can perform the same activities as listed in the preceding
section.