Setting Up The Radio
17
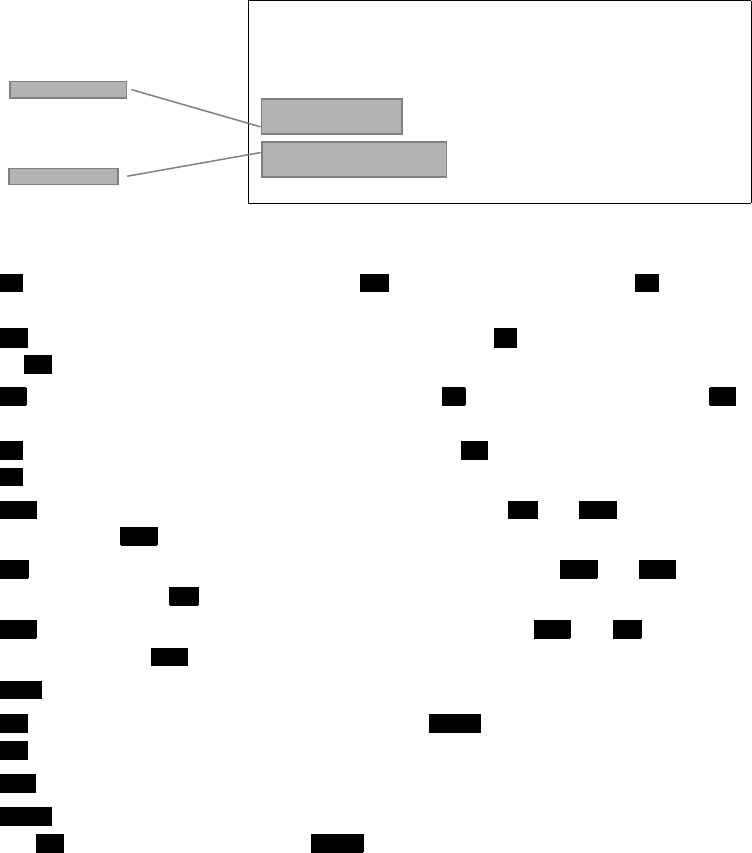
A Look at the Display
Status Icons
- Appears while the radio is transmitting. ( appears in the same place as in the
example shown above).
- Appears while the radio is set to its Triple Watch mode. ( appears in the same place
as in the example shown above).
- Appears while the transmit power is set to 1 watt. ( appears in the same place as
in the example shown above).
- Appears while the transmit power is set to 25 watts. ( appears in the same place as
in the example shown above).
- Appears while the radio is set to its USA channel mode. ( and appear in the
same place as in the example shown above).
- Appears while the radio is set to its international channel mode. ( and appear
in the same place as in the example shown above).
- Appears while the radio is set to its Canada channel mode. ( and appear in
the same place as in the example shown above).
- Appears when the currently-tuned channel is in the radio's memory.
- Appears while the radio is set to its WX mode. ( appears in the same place as
in the example shown above).
- Appears while the radio is set to its WX Alert mode.
- Appears when an installed scrambler board is working and the scrambler is turned
on. ( appears in the same place as in the example shown above).
TRI LO USA
16
MEM WX ALT
DISTRESS
A
Channel Name
Scrolls here (as shown under ‘Full
Name’ in “USA/Canadian/
International Channel Frequencies”
on Page 44)
Status Message
Appears here (see
“Status Messages”
on Page 18)
GPS OK
TX TRI TX
TRI TX
TRI
LO
HI
LO
HI
LO
HI
USA INT CAN
USA
INT USA CAN
INT
CAN USA INT
CAN
MEM
WX SCRM
WX
ALT
SCRM
WX SCRM
