“Telephone Plug-in” settings
System requirements
Item Specifications
CPU
1.0 GHz Intel
®
Pentium
®
/Celeron
®
processor or comparable CPU or
higher processor
RAM 512 MB or more
OS
R Microsoft Windows
®
XP
Service Pack 3 or later (32-bit
only)
R Microsoft Windows Vista
®
Service Pack 2 or later
R Microsoft Windows 7
Service Pack 1 or later
Microsoft
O
ffice
Outlook
R Microsoft Office Outlook 2003
Service Pack 3 or later
R Microsoft Office Outlook 2007
Service Pack 2 or later
R Microsoft Office Outlook 2010
or later (Service Pack)
Hard disk 20 MB or more
Video
r
esolution
1,024 x 768 or higher
Others R C
D-ROM drive
R USB 2.0
Trademarks:
R M
icrosoft, Windows, Windows Vista, and
Outlook are either registered trademarks or
trademarks of Microsoft Corporation in the
United States and/or other countries.
R Intel, Celeron and Pentium are trademarks of
Intel Corporation in the U.S. and other countries.
R All other trademarks identified herein are the
property of their respective owners.
R Microsoft product screen shots reprinted with
permission from Microsoft Corporation.
Note:
R The screen shot shown is for Microsoft Office
Outlook 2010.
R The screen shots shown in these instructions
may differ slightly from those of the actual
product.
R Software features and appearance are subject
to change without notice.
Installing the “Telephone Plug-in”
B
efore installing “Telephone Plug-in”, make sure of
the following:
– Microsoft Office Outlook is installed on your
computer.
– The base unit is not connected to your computer
with the mini USB cable (until instructed to do
so).
1 Start Windows and exit all other applications.
R You must be logged in as an administrator
in order to install “Telephone Plug-in”.
2 Insert the included CD-ROM into your
CD-ROM drive.
R Installation starts automatically. If the
installation does not start, see page 49.
R For Microsoft Windows Vista and
Microsoft Windows 7 users:
Click [Run Setup.exe] when prompted.
3 When the language selection window is
displayed, select the desired language and
click [Next].
4 When the “Telephone Plug-in” window is
displayed, click [Next].
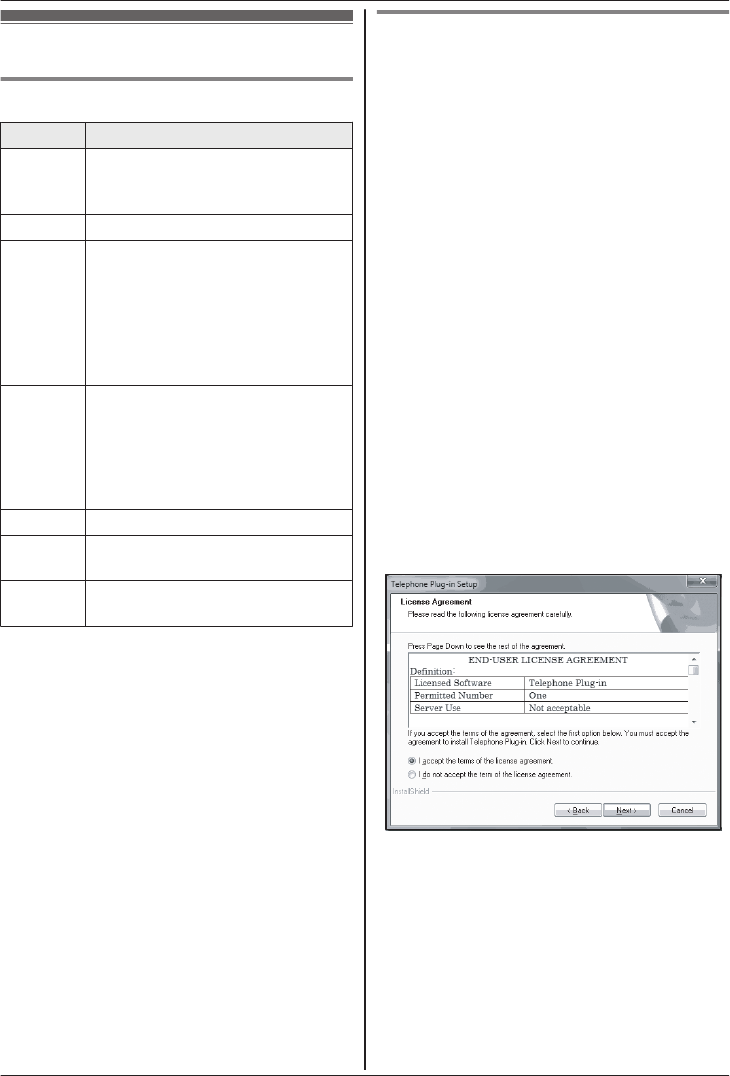
5 Read the license agreement carefully.
If you accept the terms of the license
agreement, check the box and click [Next].
6 W
hen the “Telephone Plug-in” install shield
wizard is displayed, click [Install].
7 When installation is finished, click [Finish] to
complete the installation. Then remove the
CD-ROM from your CD-ROM drive.
For assistance, please visit http://www.panasonic.com/help
19
“Telephone Plug-in” for Microsoft Office Outlook
