21 (26)
<do type="options" name="help-button" label="Nokia Help">
<go href="http://.../help.wml"/>
</do>
<do type="options" label="Contact">
<go href="http://.../contact.wml"/>
</do>
<do type="prev" label="Back">
<prev/>
</do>
</template>
<card id="nokiahome" title="Nokiahome">
<p>
Please, register<br/>
Username:
<input name="username" type="text" title="Username"/>
Password:
<input name="password" type="password" title="Password"/>
<do type="accept" label="Enter">
<go href="#confirm"/>
</do>
</p>
</card>
<card id="confirm" title="Confirmation">
<p>
$(username), you've registered.
</p>
</card>
</wml>
Back-button
prev elements are mapped to the 2
nd
soft button, to the menu items list and to a button with default
label 'go' but can be labelled with any text desired. Pressing the Back button will activate the prev
element. If there is no deck-wide prev element, the button and the menu item will be mapped to
card-wide prev element. If there is no card-wide prev element, the button and menu item will be
dimmed and disabled. Note that including prev element in every wml-page (either deck- or card-wide)
is highly recommended.
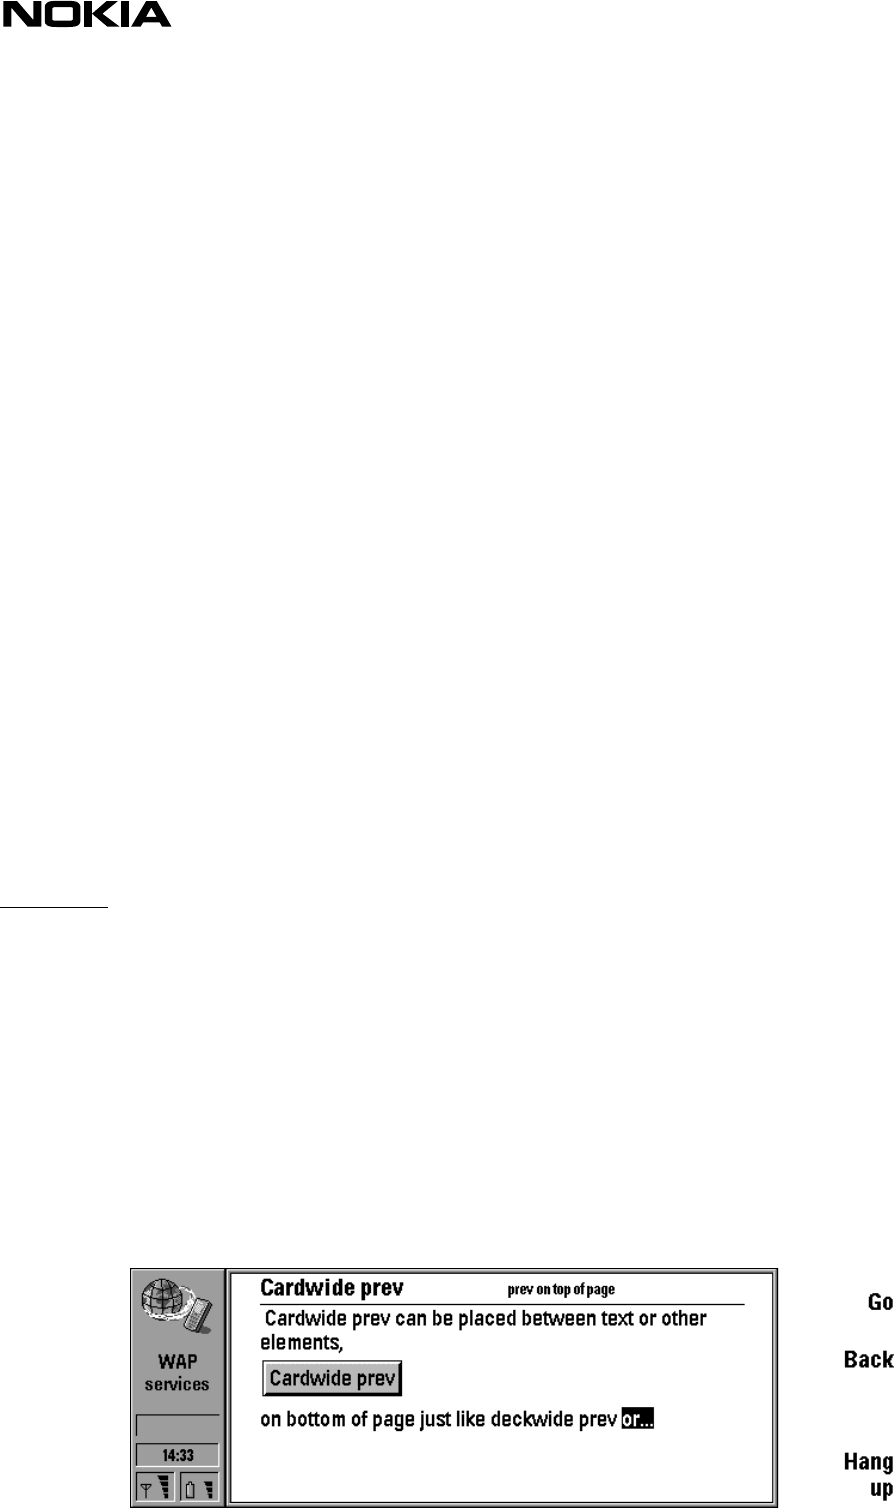
Card-wide prev elements can be placed inline with text and other elements but otherwise is rendered
the same way as deck-wide prev. Deck-wide prev elements are always placed at the end of card and
should be used only when the back-button is especially needed at the end of the card. Deck-wide prev
can be seen in example 7 and the following pictures show how the card-wide prev element can be
placed in a card.


