


5
Installation
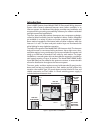
System Design
Evaluate the installation to determine locations for mounting the
intercom components. The intercom hub mounts in a new or existing
structured wiring enclosure. The DMC-10RS room stations can be
located in any rooms that require communications. DMC-10PS patio
stations are weather resistant and designed to be mounted in protected
areas outdoors. DMC-10DS door stations are also weather resistant and
typically mounted next to the primary visitor entrance and any other
auxiliary entrances. Up to eight stations of any type can be connected
to one DMC-10H hub. An additional DMC-10H hub can be connected to
the primary hub for expansion, increasing the system capacity to sixteen
stations total.
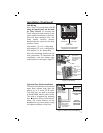
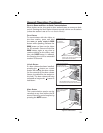
Structured Wiring Enclosure
Linear’s OpenHouse brand Model
H312KIT 12-inch high structured
wiring enclosure is recommended for
mounting the DMC-10H hub. Other
OpenHouse enclosures can also be
used to mount the hub. Enclosures
mount recessed, between wall studs,
or can be surface mounted. Be sure
the enclosure is in a location where
117 VAC power can be routed to the
enclosure by a licensed electrical
contractor for connection to an
outlet in the enclosure.
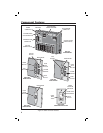
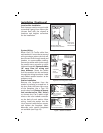
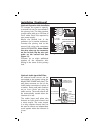
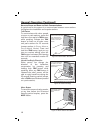
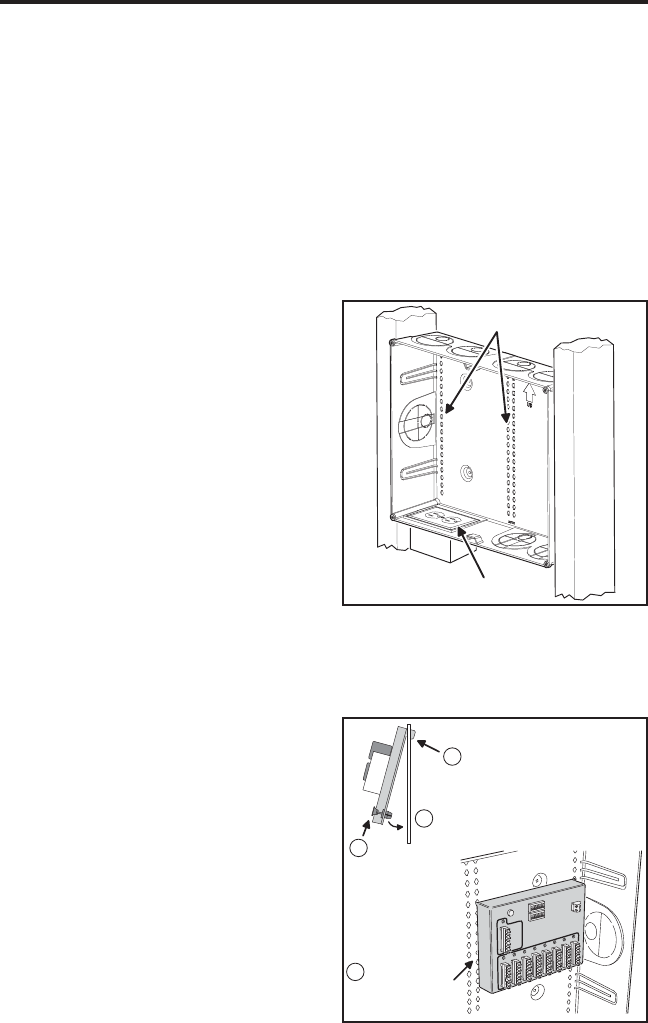
Hub Mounting
The hub locks into the mounting grid
of the structured wiring enclosure
the same as other structured wiring
modules (see Figure 4). Hook the
mounting tabs into the grid, swing
the hub into place, and push the
locking button to fi nish the hub
mounting.
MOUNTING
GRID
AC OUTLET
Figure 3. OpenHouse Model H312KIT
Structured Wiring Enclosure
Figure 4. Hub Mounting in the Enclosure
HOOK MODULE INTO GRID
1
SWING MODULE INTO PLACE
2
3
PUSH BUTTON
TO LOCK MODULE
INTO GRID
4
MODULE INSTALLED
READY FOR HOOK-UP