18
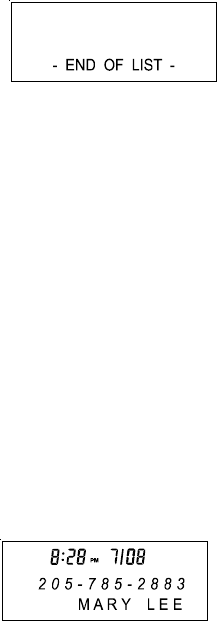
5. When you have reached the end of the call records, the display will indicate
[-END OF LIST- ] , confirming there are no more calls stored.
Note: If the telephone number received is more than 10 digits, the unit will only store
the first 10 digits into memory.
CALLER LIST
To store CID numbers into a Memory or Directory location, press the Caller List
button to review calls.
1. Select a CID number from the Caller List.
2. Press and hold the SAVE button for more than 2 seconds. “SAVE TO?” and
the CID number will appear on display.
3. Press the memory key or directory location where you want to store the number
“ENTER NUM” will appear on the display.
4. You can modify the number if you want or just press the SAVE button once.
“ENTER NAME” will appear on the display for two seconds. Then the CID name
will show on the display.
5. You can modify the name or just press SAVE to complete the procedure.
DELETING CALLS
1. To delete an individual call: When reviewing calls, you can delete an
individual call by pressing the DELETE button twice. The display will be
erased line by line and the rest of the records will be renumbered.
2. To delete all calls: When reviewing calls, you can delete all calls by pressing and
holding DELETE for more than 4 seconds. Then [DELETE ALL]’ will appear.
Press DELETE to confirm you really want to erase all records. [-NO CALLS-]
appears on the display to show there are no calls stored in memory.


