


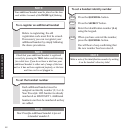

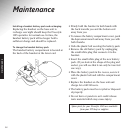
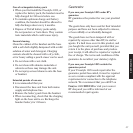


Drill 2 holes for the screws and insert the
wall-plugs provided (if required).
Drive the screws into the wall, leaving about
4mm free on which to mount the bracket and
base unit.
Make sure that the power supply and
the telephone cables are connected
to the base unit, then fit the cables into
the channels on the bottom of the
base unit.
Clip the bracket onto the base unit as shown
on the next page.
Attach the bracket and base unit
by hooking them over the screws
protruding from the wall.
38
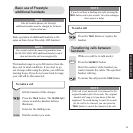
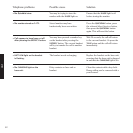
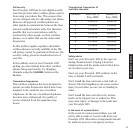
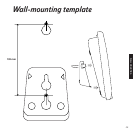
Wall mounting
Your Freestyle 1025 can be wall-mounted by
using the bracket provided.
You can use the bracket as a template to mark
where the screws should go into the wall.
Please refer to page 39, wall-mounting template.
For the best operating conditions, try to place
the base unit away from large metal objects and
other electrical appliances.
Before you wall-mount your Freestyle 1025,
check that:
• the wall can support the weight of the base
unit and handset;
• the position you choose leaves enough
space so that the base unit (which is larger
than the bracket) is clear of any obstruction
on the wall, such as a shelf or cupboard.
Room should be left so that the handset can
be placed on charge without touching any
obstructions;
• the position leaves enough space for the
aerial to be extended when wall-mounted.
WALL
WALL PLUG
SCREW
102 mm
1
2
3
4
5
WALL MOUNTING