


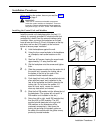
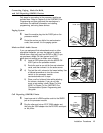

3
A)
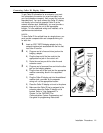
Connect the line and extension cords one at a time,
making sure to place the correct cords into
their corresponding jacks on the new module.
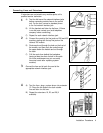
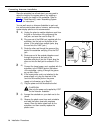
B)
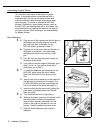
To power up the control unit, push in the main
circuit breaker.
On a PARTNER Plus 220V system, move the
on/off switch to the “on” position (“l”).
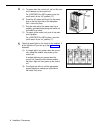
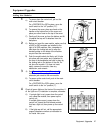
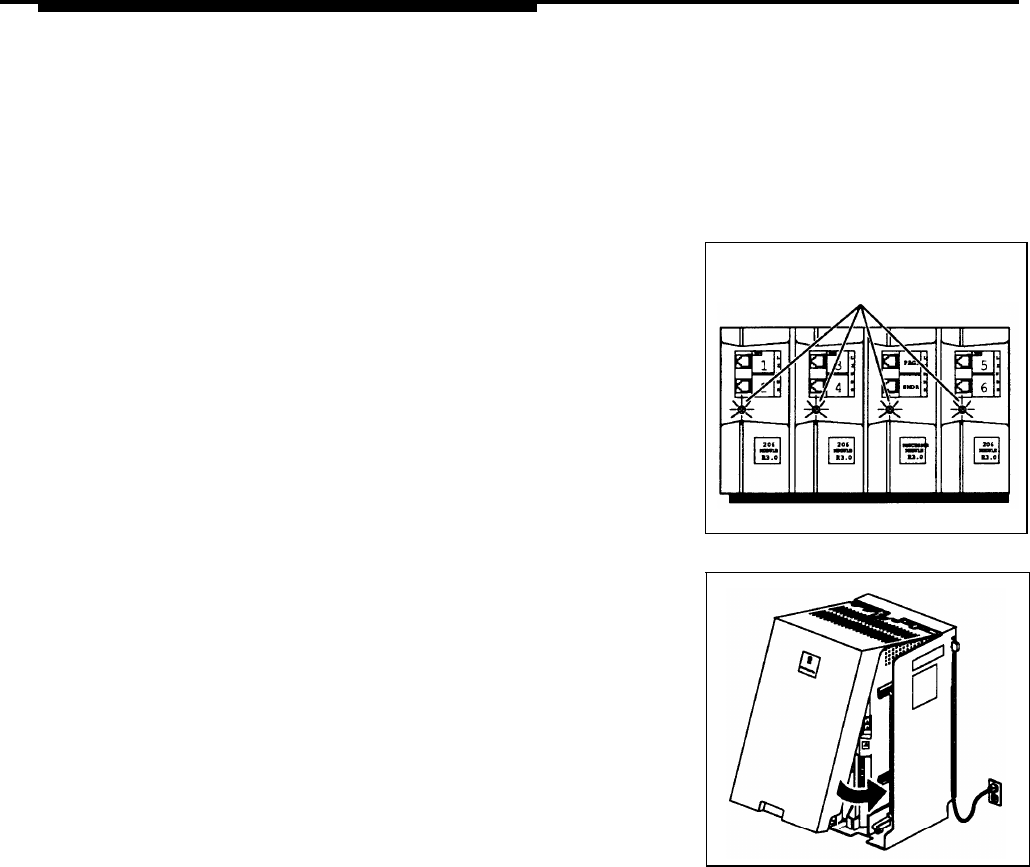
4
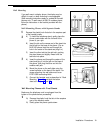
Check all green lights on the fronts of the modules. If
all the lights are lit, installation is complete; otherwise:
A)
If a single light is out, power down the control
unit, reseat the module, then power up the
control unit.
If multiple lights are out, power down the
control unit, reseat the first leftmost module
that has a light out, then power up the control
unit.
B)
If the lights are still out, call the appropriate
support telephone number as instructed on
the inside front cover.
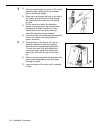
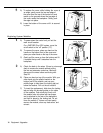
5
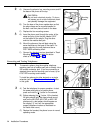
A)
To replace the cover, while holding the cover at
an angle, gently move the top rear edge of
the cover over the top of the control unit and
match up the grooves where the top edge of
the cover meets the backplane. Gently push
the edge into place.
B)
Lower the bottom of the cover until it is secured
in place.
Lights
Equipment Upgrades
19