


4 9112i IP Phone User Guide
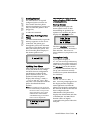
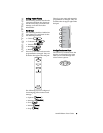
Getting Started
The phone should automatically
detect when the connection is
reconnected and will display the
“Network Connected” prompt
temporarily. If changes have been
made to your phone settings, you
may need to restart your phone.
For more information on restarting
your phone, see "Restarting your
phone" on page 15.
For more information about
connecting your phone, refer to the
Aastra 9112i Installation Guide
under the section "Connecting to
the Network and to Power". Check
with your system administrator for
assistance.
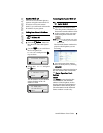
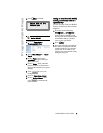
Setting Your Options
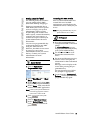
Pressing the I button
gives you a list of configurable
options.
These options allow you to
customize your phone settings.
The "Network Settings" and "SIP
Settings" selections are
administrator level options, and
require an administrator password
to access. Setting defaults under
"Phone Status" also requires an
administrator password. These
options should only be set up and
changed by your system
administrator.
For more information about
customizing your phone, see the
section "Customizing Your Phone"
in the Aastra 9112i Installation
Guide.
For more information about
administrator options, contact your
system administrator.
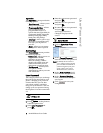
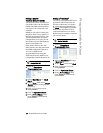
1Language
2Time and Date
3 Set Ring Tone
4 Clear Msg. Wtg.
5 Contrast Level
6Live Dialpad
7 Headset Settings
8 Call Forward
9 Network Settings
10 SIP Settings
11 Phone Status
12 User Password