


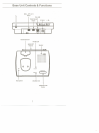
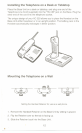

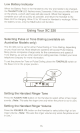

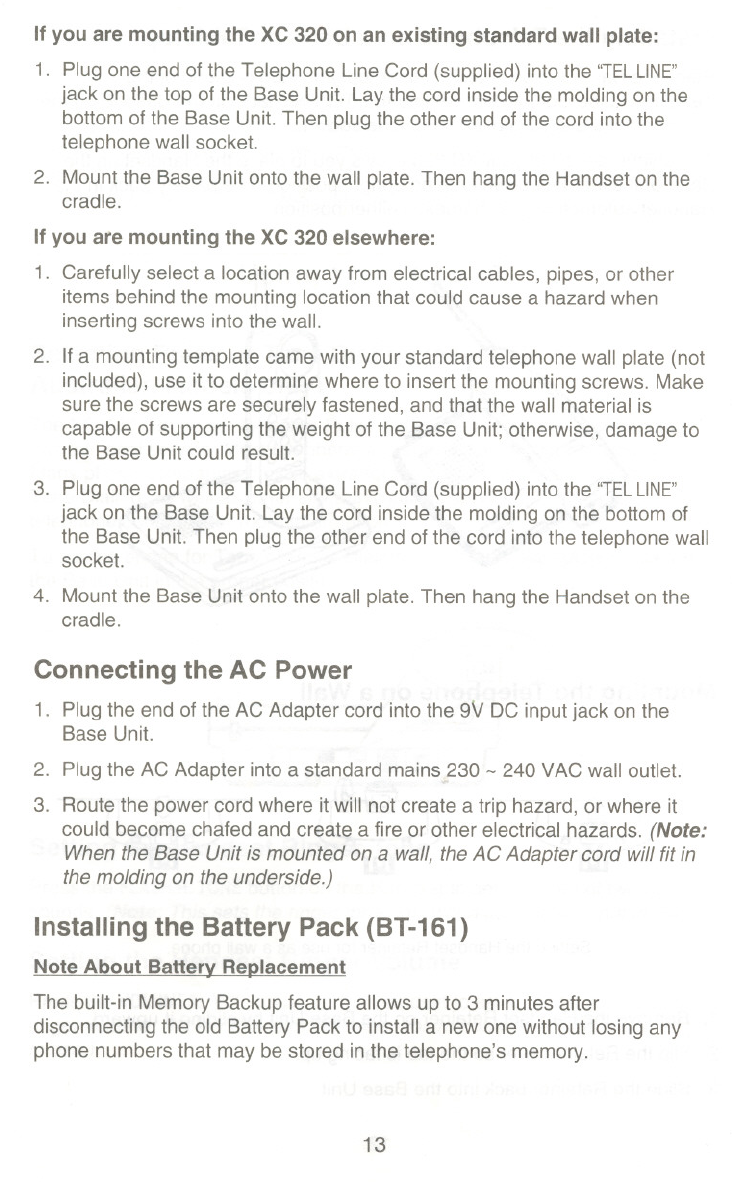
If you are mounting the XC 320 on an existing standard wall plate:
1. Plug one end of the Telephone Line Cord (supplied) into the "TELLINE"
jack on the top of the Base Unit. Lay the cord inside the molding on the
bottom of the Base Unit. Then plug the other end of the cord into the
telephone wall socket.
2. Mount the Base Unit onto the wall plate. Then hang the Handset on the
cradle.
If you are mounting the XC 320 elsewhere:
1. Carefully select a location away from electrical cables, pipes, or other
items behind the mounting location that could cause a hazard when
inserting screws into the wall.
2. If a mounting template came with your standard telephone wall plate (not
included), use it to determine where to insert the mounting screws. Make
sure the screws are securely fastened, and that the wall material is
capable of supporting the weight of the Base Unit; otherwise, damage to
the Base Unit could result.
3. Plug one end of the Telephone Line Cord (supplied) into the "TELLINE"
jack on the Base Unit. Lay the cord inside the molding on the bottom of
the Base Unit. Then plug the other end of the cord into the telephone wall
socket.
4. Mount the Base Unit onto the wall plate. Then hangthe Handset on the
cradle.
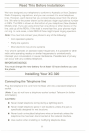
Connecting the AC Power
1. Plug the end of the AC Adapter cord into the 9V DC input jack on the
Base Unit.
2. Plug the AC Adapter into a standard mains 230 - 240 VAC wall outlet.
3. Route the power cord where it will not create a trip hazard, or where it
could become chafed and create a fire or other electrical hazards. (Note:
When the Base Unit is mounted on a wall, the AC Adapter cord willfit in
the molding on the underside.)
Installing the Battery Pack (BT-161)
Note About Battery Replacement
The built-in Memory Backup feature allows up to 3 minutes after
disconnecting the old Battery Pack to install a new one without losing any
phone numbers that may be stored in the telephone's memory.
13