


English
21
Answering machine
Recording and selecting an outgoing message
Two outgoing messages of 3 minutes can be recorded (OGM1 and OGM2).
• Outgoing message 1 for the answering function and the possibility for callers to leave a message.
• Outgoing message 2 for the answering function without allowing callers to leave a messages on
the machine (answer only).
Selecting the outgoing message (answering mode)
To set the answering mode by the base:
To set the answering mode by the handset:
Setting the day
During playback of messages you will hear the day and time when the messages are recorded. The
time is set by the internal clock (See “6.8 Setting the time” ) but the day need to be set separatly:
If no outgoing message is recorded, a pre-recorded outgoing message will be used.
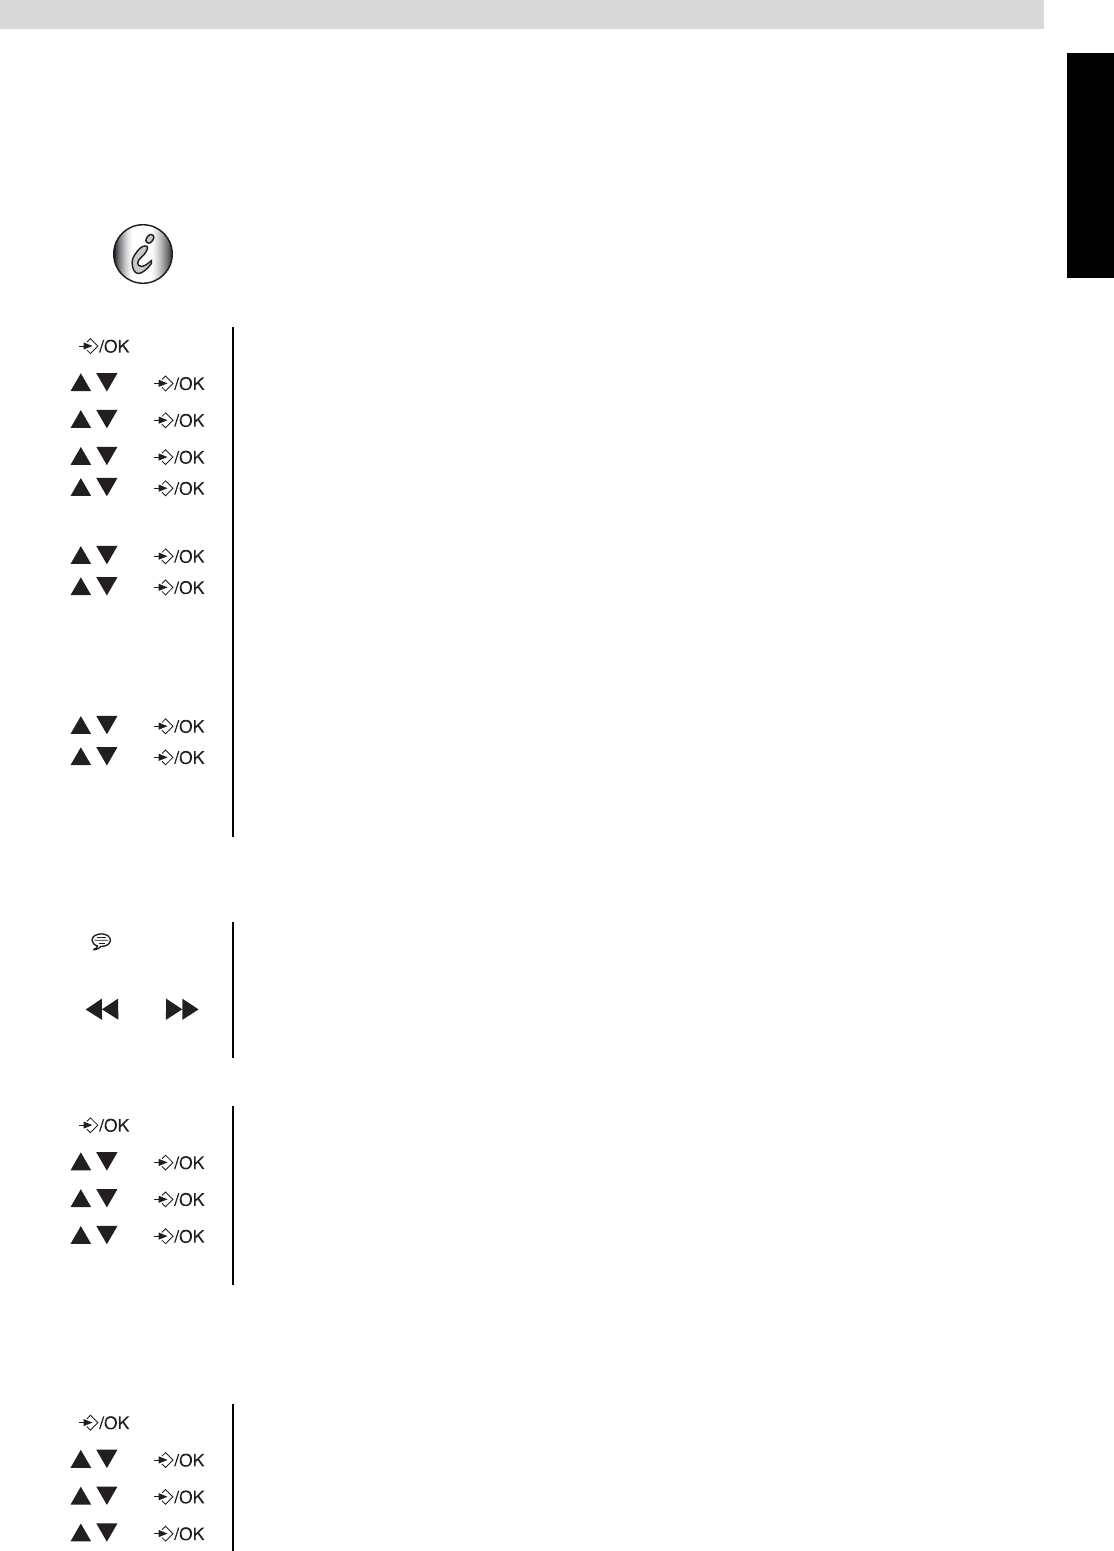
1 Enter the menu.
2 Select “TAM SETTINGS” and confirm.
3 Select “OGM SETTINGS” and confirm.
• Select “PLAY OGM” to play and hear the outgoing message.
Select “ANS AND REC” for outgoing message 1 or “ANS ONLY” for
outgoing message 2 and confirm.
• Select “RECORD OGM” to record the outgoing message.
Select “ANS AND REC” for outgoing message 1 or “ANS ONLY” for
outgoing message 2 and confirm.
The internal voice will ask to start speaking after the tone. You can end the
recording by pressing the ‘ ’-key. The recording will be played back.
• Select “DELETE OGM” to erase the outgoing message.
Select “ANS AND REC” for outgoing message 1 or “ANS ONLY” for
outgoing message 2 and confirm. The pre-recorded outgoing message will
be played.
1 Press and hold the outgoing message key until the voice ask you to select
the outgoing message.
2 Press the skip back key to select outgoing message 1 or the skip forward
key to select outgoing message 2. The selected message will be played.
1 Enter the menu.
2 Select “TAM SETTINGS” and confirm.
3 Select “ANS MODE” and confirm.
4 Select “ANS AND REC” for outgoing message 1 or “ANS ONLY” for
outgoing message 2 and confirm.
1 Enter the menu.
2 Select “TAM SETTINGS” and confirm.
3 Select “DAY SETTINGS” and confirm.
4 Set the day and confirm.
#
#