


27
US
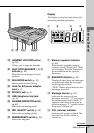
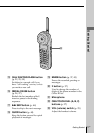
Telephone Features
Telephone Features
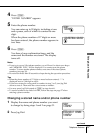
Note
Do not allow more than 20 seconds to elapse during the operation procedure.
Tips
• When the phone number of 17 digits or more has been entered, “–” is displayed
next to 15th digit in step 5.
• If you have entered a wrong number in step 4 and have not pressed (PGM)
(step 5) yet, just turn Jog Dial down to erase it. Then enter the correct number.
• You may press Jog Dial instead of (PGM) in step 5.
To store a number to be dialed via Private Branch Exchange
(PBX)
Before entering a phone number in step 4 on page 26, do as follows:
1 Enter the outside line access digit (e.g., 9).
2 Press (REDIAL/PAUSE).
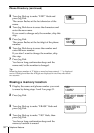
To change a stored number
1 Perform steps 1 to 3 on page 26.
The current number appears on the display.
2 Turn Jog Dial down to erase the current number.
3 Enter a new number.
4 Press (PGM).
Note
You can replace the stored number with a new number, but you cannot just erase it.
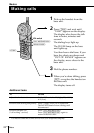
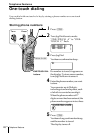
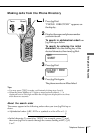
Making calls with one-touch dialing
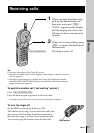
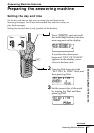
1 Press (TALK) and wait until “TALK” appears on the display.
2 Press one of the ONE-TOUCH DIAL buttons ((A) to (C)).
The phone number stored on the one-touch dialing button will
appear on the display and will be dialed.
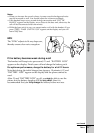
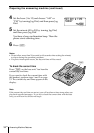
To check the phone number before one-touch dialing
While the handset is not in use, press one of the ONE-TOUCH DIAL
buttons ((A) to (C)).
The number stored on the button appears on the display for 20 seconds. To
dial the number, press (TALK) while the number is displayed.
Tip
When the phone number of 17 digits or more has been entered, “–” is displayed next
to 15th digit and then the all digits are displayed in two lines after about two
seconds.