


–
19
–
Mute
When the alert beeping becomes undesired, you can terminate the beeping in 3
different ways:
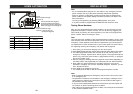
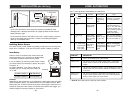
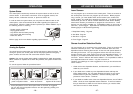
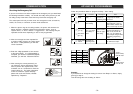
1. Mute button - Manual mute by pressing the
mute button
Pressing the mute button will temporary
disable the beeping for all the activated
sensors. For example, if a window with a
window sensor will be open for a long period
of time, the continuous beeping may become
undesired. Pressing the mute button will
temporary disable the beeping for this
sensor only, it will still beep if other sensors
are triggered. This sensor will beep again
if this window is closed, and then opened.
OPERATION
Mute Button
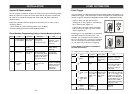
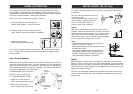
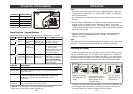
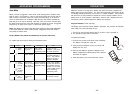
2. Change the buzzer mode - Disable Beeping
The beeping can be disabled for all
zones by changing the buzzer mode
selector.
- If the buzzer mode selector is at "I", beeping is enabled.
- If the buzzer mode selector is at "II", beeping is disabled.
If beeping is disabled, all sensor alert beeping will be disabled, however, the
voice announcement and LED flashing will still function.
3. Enable Auto-Mute in Advanced Programming
If this feature is enabled for that zone, beeping will be terminated automatically
after 15 seconds . Refer to "Advanced Programming" - Auto Mute" on page 32
for more information on how to enable this feature.
Buzzer Mode Selector
ADVANCED PROGRAMMING
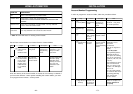
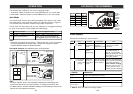
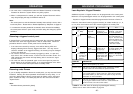
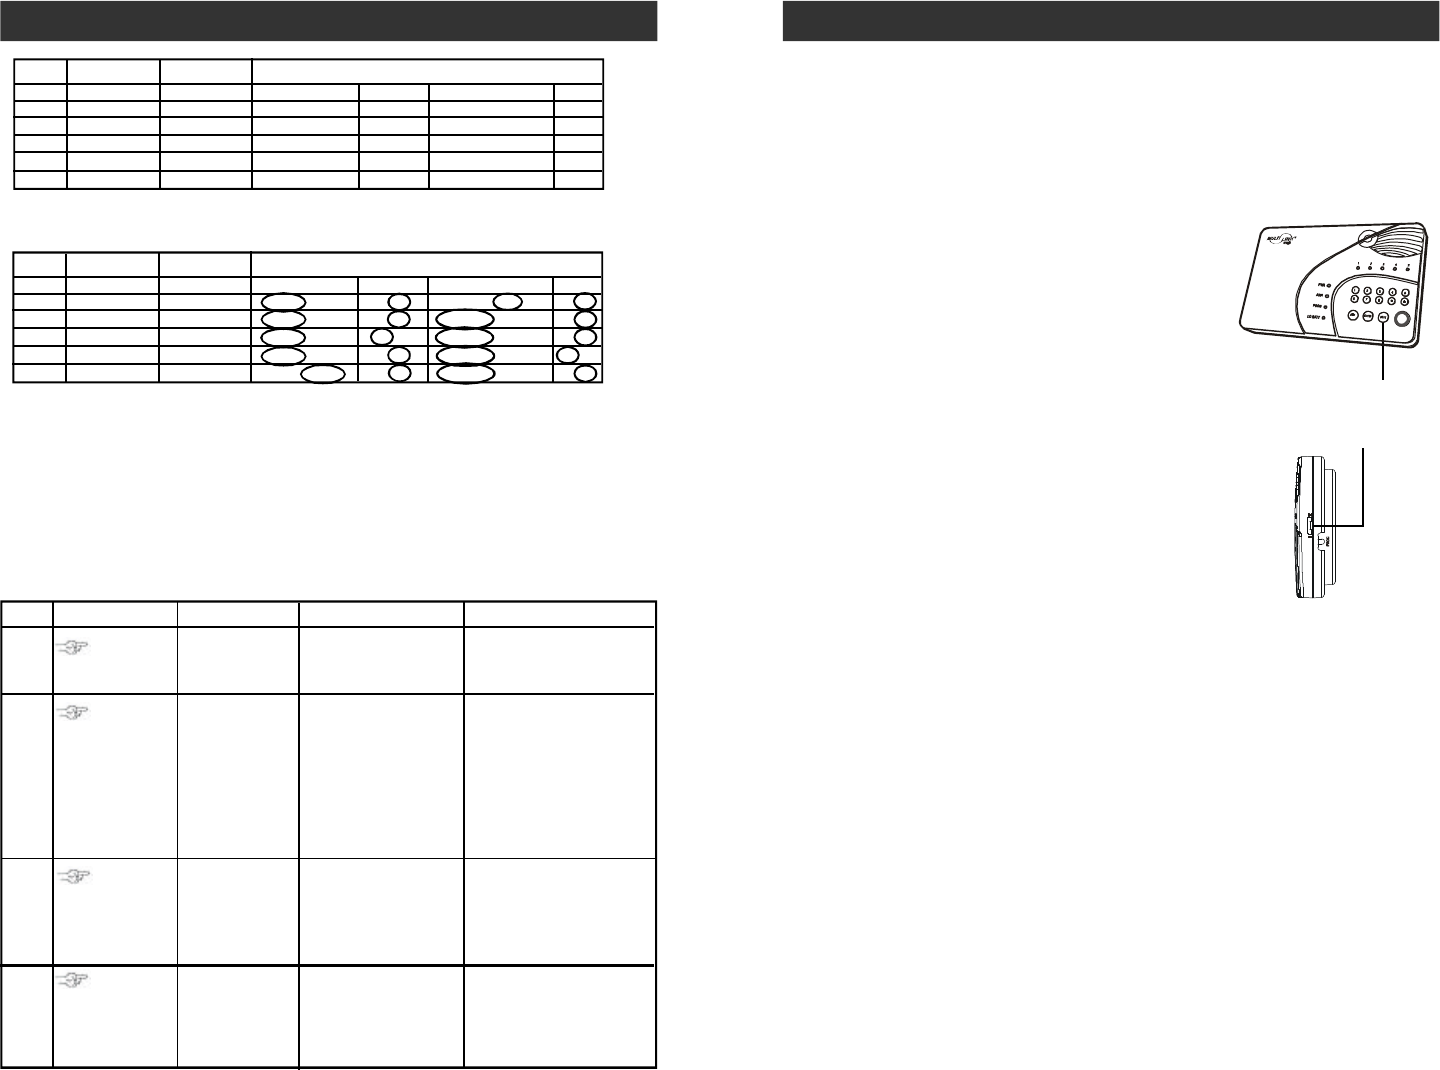
4. Once you have filled out the table, it should look something like this.
You may refer to each column representing the zone dependent feature, to program
each zone with the selected feature. For example, Auto Mute feature is only enabled
for zone 3, when you are in the auto mute programming, you should enable this
feature for zone 3 only, the rest of the zones should have this feature disabled.
Repeat this step for all 4 zone dependent features during programming.
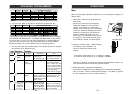
5. You may now follow the procedure below "Learn Sensor Continue" to program
the sensor(s) to the desired zone(s).
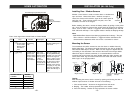
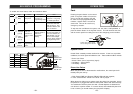
Learn Sensors - Continue
1
2
3
4
[PROG]
[MPIN]
Enter Program-
ming mode
Enter master
password to
programming mode
3 beeps for valid
password. 1 long beep
for invalid password.
[3]
Select learn
sensor
programming
[0] to [9]
After you have
selected the zone, that
zone LED will be on.
Trigger sensor
After [3] is entered, some
zone LEDs will flash
once, or twice, some will
be off. The zone LEDs
represent whether that
zone is already occupied
by another sensor.
**See Table D next page.
Select sensor
location
Refer to the diagram
below to select the
sensor location, which
includes the zone and
sensor number.
Once the sensor is
activated, the signal
will be transmitted
to the Control Panel
which will be stored.
You will hear [Zone X
Sensor Y Accepted],
where X and Y are the
zone and sensor numbers
you have selected.
Activate the
sensor you
would like to
program to
this zone.
Basement Water
Front WindowFront Door
SENSOR 1 SENSOR 2
Location
Location
ZONE DEPENDENT FEATURES
Beep / Alarm Auto Mute
Event Trigger
Alert
Kitchen Motion
Back Door
Basement Motion
Backyard Motion
Table C
zone 1 Beep / Alarm Y / N Disabled / On / Off Y / N
zone 2 Beep / Alarm Y / N Disabled / On / Off Y / N
zone 3 Beep / Alarm Y / N Disabled / On / Off Y / N
zone 4 Beep / Alarm Y / N Disabled / On / Off Y / N
zone 5 Beep / Alarm Y / N Disabled / On / Off Y / N
SENSOR 1
SENSOR 2
Location
Location
ZONE DEPENDENT FEATURES
Beep / Alarm Auto Mute
Event Trigger
Alert
zone 1 Beep / Alarm Y / N Disabled / On / Off Y / N
zone 2 Beep / Alarm Y / N Disabled / On / Off Y / N
zone 3 Beep / Alarm Y / N Disabled / On / Off Y / N
zone 4 Beep / Alarm Y / N Disabled / On / Off Y / N
zone 5 Beep / Alarm Y / N Disabled / On / Off Y / N
Step Keys Function Description Note
–
38
–