


10
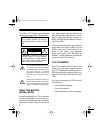
Directly on a Wall
For this mounting method, you need two
flat-head wood screws (not supplied)
with heads that fit into the keyhole slots
on the bottom of the TAD.
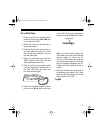
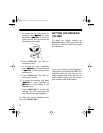
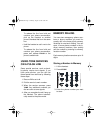
1. Drill two holes 3
15
/
16
inches (100 mm)
apart. Then thread a
screw (not supplied)
into each hole letting
the heads extend
about
3
/
16
of an inch
(5mm) from the wall.
2. Plug one end of the supplied long
modular cord into the
TEL. LINE
jack
on the top of the TAD.
3. Plug the cord’s other end into a
modular phone line jack.
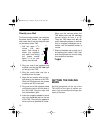
4. Align the two screws with the key-
hole slots on the bottom of the TAD.
Slide the TAD down onto the screws
to secure the TAD to the wall.
5. Plug one end of the supplied coiled
cord into the jack on the left side of
the TAD-1026. Plug the other end
into the handset’s jack.
6. Insert the supplied adapter’s barrel
plug into the
DC 9V
jack on the top
of the TAD. Then plug the adapter’s
other end into a standard AC outlet.
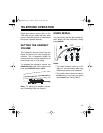
When you first connect power, the
TAD beeps once and the message
counter counts up from 0 to 10.
Then the TAD beeps.
A1
,
A2
,
CL
and
0
alternately appear to indicate
that no outgoing messages are re-
corded, and the day/time stamp is
not set.
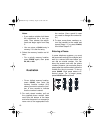
7. Slide the handset clip up and out of
its retaining slot, rotate it 180°, then
slide the clip back into its slot. Hang
the handset on the base.
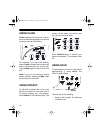
SETTING THE DIALING
MODE
Set
T/P
(tone/pulse) on the top of the
TAD-1026 for the type of service you
have. If you are not sure which type you
have, do this test.
3
/
16
3
15
/
16
7.epsi
43-786.fm Page 10 Monday, August 16, 1999 8:02 AM