


12
EN
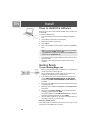
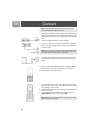
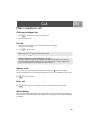
1. Connect the output plug of the base adapter to the adapter socket on
the back of the base unit and the base adapter to the wall main supply.
A click should be heard when the cord is properly connected to the
base.
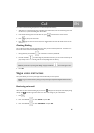
2. Connect the USB plug directly to your PC's USB slot.
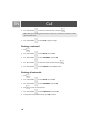
3. Connect the telephone line cord to the phone socket on the back of
the base unit and to the plug (optional and country dependent) then
wall phone socket.
4. If you have bought a multi-pack product, each extra handset comes
with a charger and adapter. Connect the adapter to the wall main
supply.
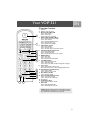
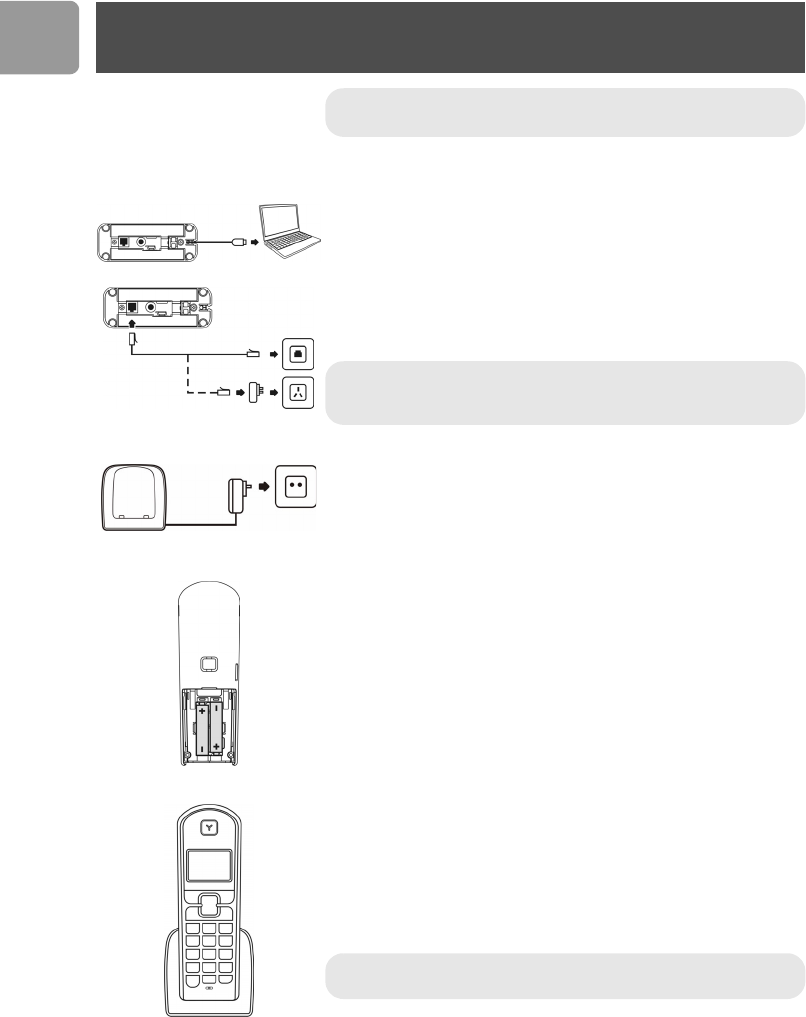
5. Place the 2 rechargeable NiMH AAA batteries (included), observing
their polarities, into the battery compartment on the handset.
6. Slide the battery door firmly into place.
7. Place the handset on the charger and let the batteries continuously
charge for 24 hours before using. The handset may get warm during
the initial charge. This is normal.
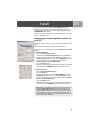
8. Please note that handset may not turn ON for up to 15 minutes if the
batteries are too low.
9. To set the language of your handset, press any key when you see
WELCOME. Select your country and press OK.
Note :
Install the drivers and software first (see page 10) and
connect the USB phone only once it is done.
Note :
You may find in the box the line adaptor delivered separately
from the line cord. In this case, please, first plug this line adaptor onto
the line cord before connecting it to the line socket.
Note : Before first use, put the product on the charger and charge
batteries for 24 hours minimum.
Connect