


11
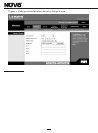
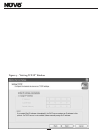
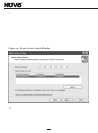
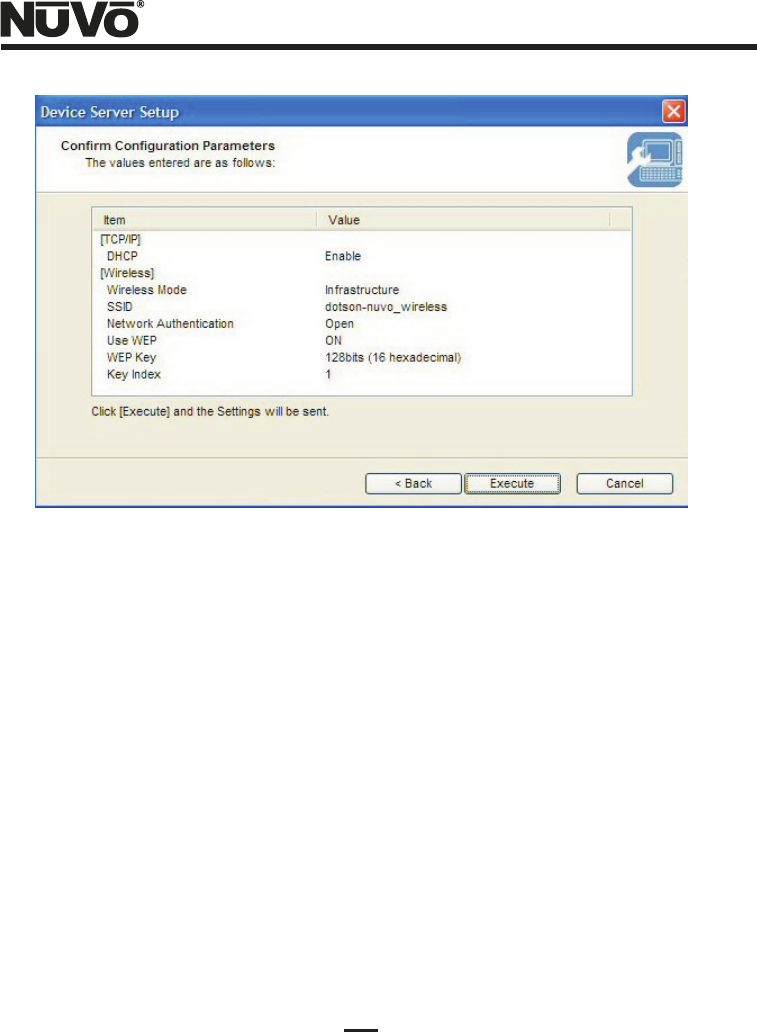
Figure 10 – Confirm Configuration Parameters
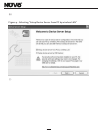
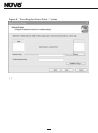
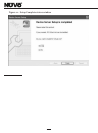
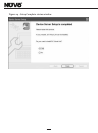
(14) The Device Server Setup Complete window shown in Figure 11 should come up.
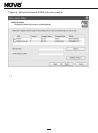
If you are using the user's PC for setup at this point, left-click “Yes” for the “Do you want to
install SX Virtual Link” question decision in the window, and then click “Finish”. If you will be
installing SX Virtual Link on a different user PC, or multiple PC's, then left-click “No” here
before clicking “Finish”.
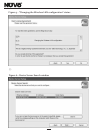
If you clicked “Yes”, then follow the subsequent prompts to complete the installation of the
SX Virtual Link software. Your users will need the SX Virtual Link software installed on any
PC's from which they wish to synchronize music files onto an NV-M3 Music Server. If you
clicked “No”, and you have yet to install this software application on any PC's, proceed to the
PC you wish to setup for your user, and insert the NuVo NV-USBW/SX-2000WG setup CD.
When the Main Menu screen comes up, left-click the “Application Installation” button, and
follow the prompts to install. Close the Device Server Setup CD application by left-clicking
the Quit button in the Main Menu, or just clicking the red “X” in the top right of the window.
Left-click “Yes” in the “OK to finish?” decision window. You may now proceed to the “Virtual
Link Operation with an NV-M3 Music Server” on page 19 of these instructions.