10
INSTALLATION INSTRUCTIONS (CONTINUED)
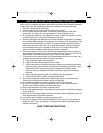
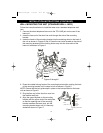
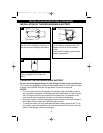
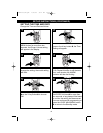
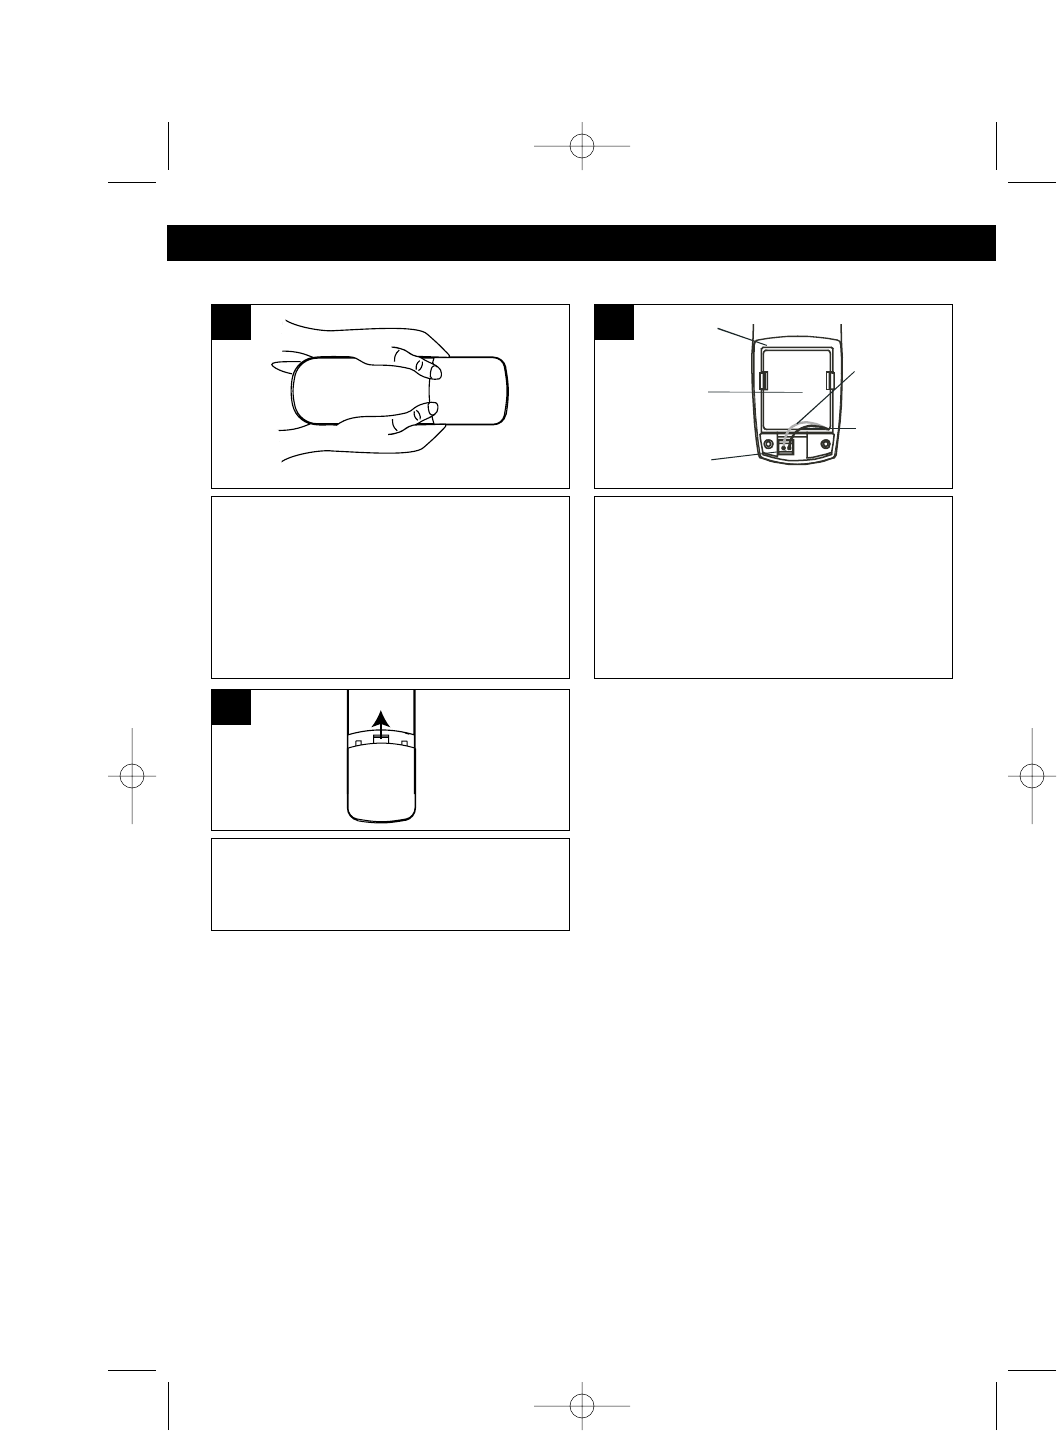
Remove the battery cover located on
the rear of the handset by pressing on
the top cover and sliding it downward.
1
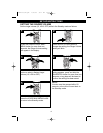
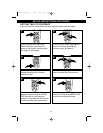
Connect the Ni-Cd battery pack plug
into the battery connector; the LCD
display will turn on in the Standby
mode.
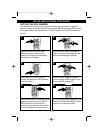
Insert the Ni-Cd battery pack into the
battery compartment.
Battery
Compartment
Red
Wire
Black
Wire
N-Cad
Battery
Pack
Battery
Connector
2
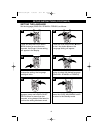
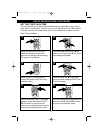
Put the battery cover back on by
sliding it upward until it clicks into
place.
3
INSTALLATION OF THE RECHARGEABLE BATTERY
CHARGING THE RECHARGEABLE BATTERY
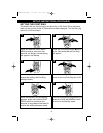
Be sure the rechargeable battery is fully charged 12 hours prior to initial use.
The handset’s rechargeable battery will be charged when it’s on the base’s charge
contacts; the CHARGE indicator will light when it is placed in the base.
NOTES:
• The Low battery indicator will appear in the display when the battery power is
low and needs recharging. If the battery becomes weak while you are on a call,
the LCD display will blink and a beep will be heard every 12 seconds. In this
case, end the call immediately and return to the base for recharging.
• Every few months, or when charging becomes abnormal, clean the contacts of
the handset and the base with a standard pencil eraser.
• To maximize battery life, fully discharge the battery every month or two. To do
this, simply unplug the telephone line cord and press the TALK button until the
battery is discharged, and then recharge it.
MPH2430.O/M.QXD 1/29/03 9:11 AM Page 10


