


5
Introduction
CAUTION: When using telephone equipment, there are basic safety instructions
that should always be followed. Refer to the IMPORTANT SAFETY INSTRUCTIONS
provided with this product and save them for future reference.
Before You Begin
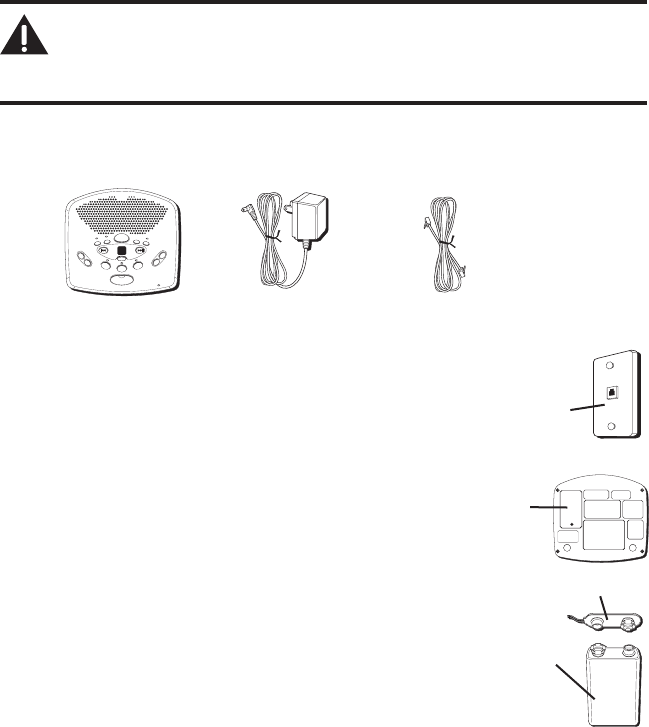
Parts Checklist
Make sure your package includes the following items:
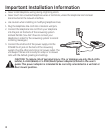
Modular Jack Requirements
You need an RJ11 type modular jack, which is the most common type of phone jack
and might look like the one pictured here installed in your home. If you don’t have a
modular jack, call your local phone company to find out how to get one installed.
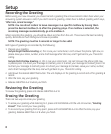
Installing the Battery
In the event of a power loss, a 9-volt battery (not included) enables the
answerer to retain greetings and messages stored in memory. To install
the battery:
1. Remove the battery compartment door on the bottom of the unit by
loosening the screw with a Phillips screwdriver. Lift the door.
2. Connect a fresh 9-volt alkaline battery (not included). The large and small
contacts on the battery clip and the battery will interlock. Once connected,
place the battery inside the battery compartment.
3. Replace the battery compartment door and tighten the screw.
NOTE: If the battery is low or not installed, the unit announces
“Low Battery” at the end of message playback.
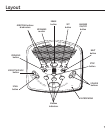
Answerer
-
-
+
+
Battery clip
Battery
D
I
G
I
T
A
L
M
E
S
S
A
G
I
N
G
S
Y
S
T
E
M
V
O
I
C
E
T
I
M
E
/
D
A
Y
S
T
A
MP
M
E
M
O
/
S
C
A
N
F
O
U
R
M
A
I
L
B
O
X
E
S
T
O
U
C
H
T
O
P
L
A
Y
V
O
L
U
M
E
T
W
O
W
A
Y
A
G
R
E
E
T
I
N
G
B
E
R
A
S
E
S
E
T
O
N
O
F
F
MESSAGES
NEXTPREVIOUS
STOP
PLAY
2
PLAY
3
PLAY
4
PLAY
1
MIC
-
+
Battery
compartment
door
Modular
telephone
line jack
Wall plate
AC power supply
Telephone line cord