


4. BASIC SETUP
4-11
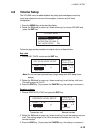
4.6 Position Setup
This is where you enter your position, automatically or manually.
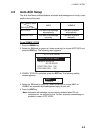
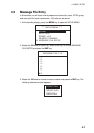
1. Press the MENU key at the standby display.
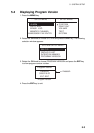
2. Rotate the CH knob (or press up / down arrow key) to choose POSITION from
the second page of the main menu.
**** SETUP MENU ****
POSITION
VOLUME
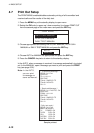
PRINT OUT
SYSTEM
T
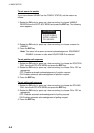
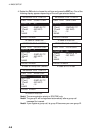
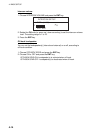
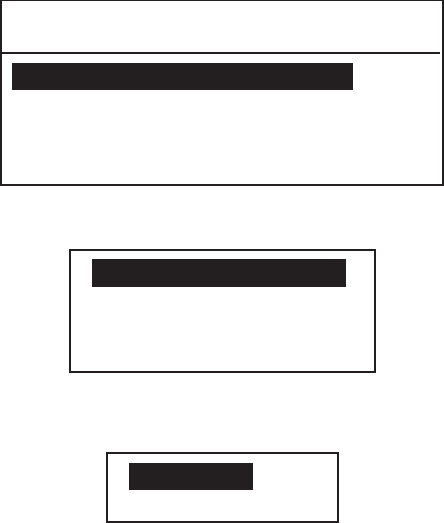
3. Press the ENT key. The following menu appears.
INPUT TYPE: AUTO
LAT : --
°
--’-
LON : ---
°
--’-
TIME : -- :
--
4. INPUT TYPE is selected; press the ENT key. The following setting window
appears.
AUTO
MANUAL
Note: If the position data from a positioning sensor is available, MANUAL
can not be chosen, i.e. the above window does not open.
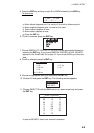
5. Rotate the CH knob (or press up / down arrow key) to choose AUTO or
MANUAL as appropriate and press the ENT key.
If you chose AUTO, your ship's position and time appear; press the CANCEL
to close the menu and return to the standby display. These data are supplied
from the navigation equipment connected.
Note: • If correct position data is entered from a position source during the
setting of MANUAL, the setting changes automatically to AUTO from
MANUAL.
• If the message "GPS ERR" appears after you change INPUT TYPE
from MANUAL to AUTO, confirm that the navigation device is
functioning.
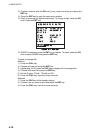
If you chose MANUAL, enter your position and time as follows.
6. Enter latitude (in four digits) with the numeric keys. If necessary, switch
coordinates: 1 key to switch to North; 2 key to switch to South.
7. Press the ENT key and enter longitude (in five digits) with the numeric keys. If
necessary, switch coordinates: 1 key to switch to East; 2 key to switch to
West.
8. Press the ENT key and enter UTC time with the numeric keys.
9. Press the ENT key and CANCEL key to finish.