


HTTP://GLOBAL.TALKSWITCH.COM 13
Changing TalkSwitch unit ID numbers
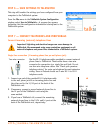
Each TalkSwitch unit is pre-programmed at the factory with Unit ID number 1. When
you plug multiple units in for the first time or add a unit or units to an existing
network, the lights on the front of each TalkSwitch flash. This is an indication that all
units have the same ID number. Change the ID numbers so that they are all unique,
as follows:
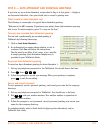
1. Connect a phone to any extension port (eg. E4) of the TalkSwitch unit for which
you want to change the unit ID number, and lift the phone handset.
2. The TalkSwitch prompt will indicate that there is an ID conflict. Choose a number,
for example “2”, as the new unit ID number. Once the unit ID number has
been accepted, the lights on the front panel will stop flashing (usually within
10 seconds).
3. Repeat the above steps for each additional TalkSwitch unit, assigning a unique ID
number to each unit on the network.
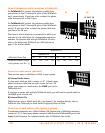
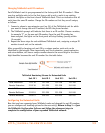
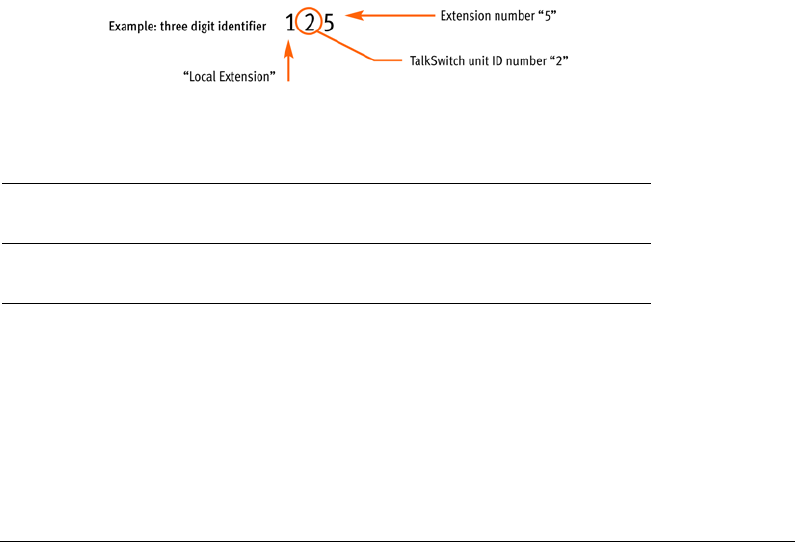
After successfully changing each unit ID to a unique number, each unit can be
identified by the network. More importantly each local extension, remote extension,
and voice mailbox, will have a unique number wherein the second digit in the three
digit identifier becomes the unit ID number. See the table below.
Configuring the Networked Units
Now that you have connected your TalkSwitch units and changed the unit ID numbers,
you can configure call handling options for the new unit(s).
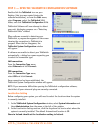
Return to Step 3 —
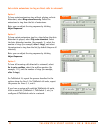
Open
the TalkSwitch Configuration Software
and follow the subsequent steps to
complete the configuration of your expanded TalkSwitch network.
TalkSwitch Numbering Scheme for Networked Units
Unit ID 1 Unit ID 2 Unit ID 3 Unit ID 4
Local Extensions 111-118 121-128 131-138 141-148
Remote Extensions 211-218 221-228 231-238 241-248
Local Mailboxes 111-118 121-128 131-138 141-148
Remote Mailboxes 211-218 221-228 231-238 241-248
General Mailboxes 410-419 420-429 430-439 440-449