Commissioning
16
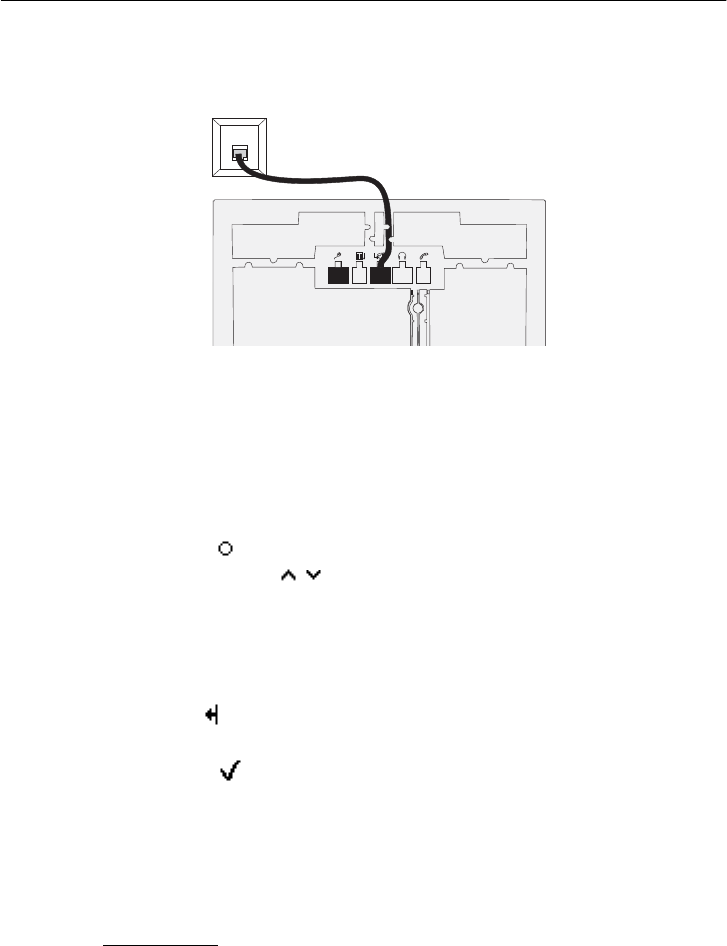
2. Guide the cable to the outside through one of the cable channels (see
Fig. 5).
3. Turn the telephone around again.
4. Insert the other ISDN cable into an ISDN wall jack connected to the PBX.
5. If required, insert the wall-mounted COMfortel XT-PS power supply (type
number 809) into a freely-accessible 230 V mains socket.
1
For a short moment, the Auerswald logo and then the language
menu are shown on the display.
6. Press the softkey next to the required language.
L You can use the softkeys (keys next to the display) in any list to
browse to the required option.
1
The MSN entry menu is shown on the display.
7. Use the keypad to enter the internal telephone number previously config-
ured in the PBX.
L Use the softkey (key next to the display) to delete the numbers one at a
time from the right.
8. Press the softkey to complete the entry.
1
The date and time as well as the name of the internal subscriber
are shown on the display. The telephone is now ready for use.
Note: If the date and time are not yet configured in the PBX, only the name
and version of the telephone are shown on the display.
Further steps
ġ Configure the telephone according to your individual needs. You can per-
form the configuration not only using the menu on the display (see the User
Fig. 5: Connecting to the PBX
☞


