


GETTING STARTED [19]
www.uniden.com
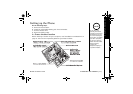
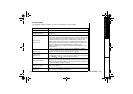
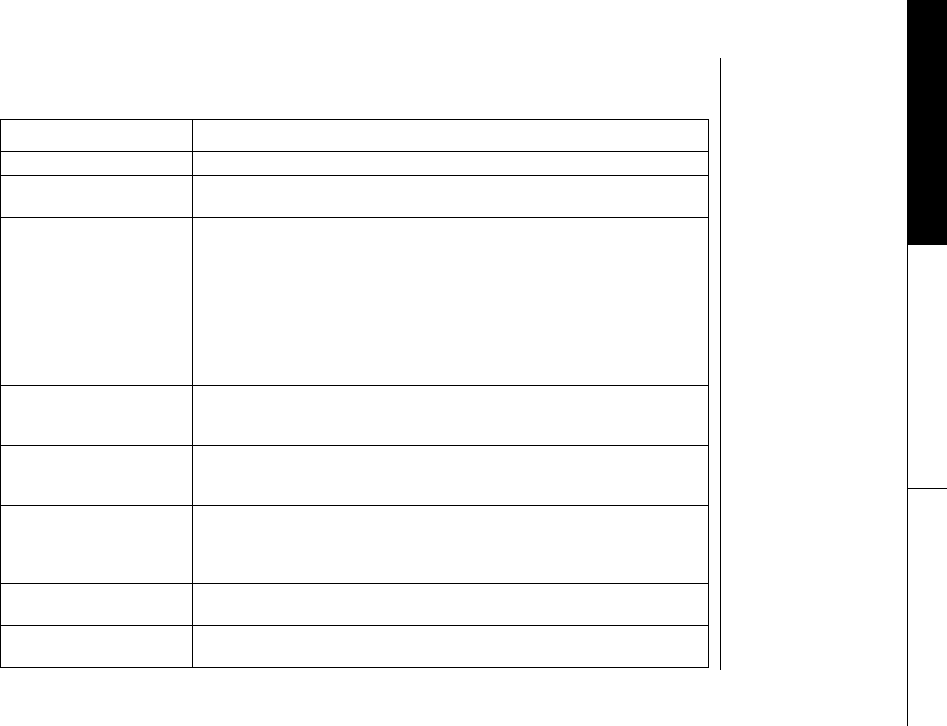
Handset Setup
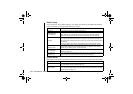
The following submenu options must be set separately for each handset.
Submenu option Description
Edit Voice Mail Program or delete the voice mail access number (see page 22).
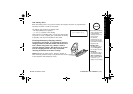
Ringer Tones
(Default is Flicker)
Adjusting the ringer tone (tone your phone makes when ringing)
(see page 23).
Distinct. Ring
(Default is on)
Set the distinctive ring (see page 23). "Distinctive Ringer" allows you to
preset memory locations with a designated ring tone. When an incoming call
is received and the Caller ID information matches the information in one of
the memory locations, the distinctive ring that has been stored for that
particular Caller will sound. If you have set multiple memory locations with
distinctive rings, switching the setting to "Distinctive Off" will result in no
distinctive ringing. All incoming calls will have a normal ring tone.
Switching to "Distinctive On" will activate all programmed distinctive ring
memory locations.
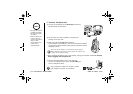
AutoTalk
(Default is off)
Allows you to answer the phone without pressing talk/flash or speaker.
When the AutoTalk is set to on, simply remove the handset from the cradle
and the phone automatically answers the call (see page 23).
Anykey Answer
(Default is off)
Allows you to answer the phone without pressing
talk/flash
or
speaker
.
When the Anykey Answer is on, you can answer a call by pressing any number
key,
*
/tone/
←
, or
#/
→
on the handset (see page 24).
Banner (True Banner)
Customize your handset(s) by giving it a banner name. The name will be
displayed on the LCD screen during standby mode, Intercom, Transfer, Room
Monitor and Copy Phonebook operation. The banner name will be displayed on
the receiving handset as well (see page 24).
Language
(Default is English)
The menu display options can be set to English, French or Spanish for easy
setup use (see page 24).
Key Touch Tone
(Default is on)
Allows you to set your phone's key touch-tone to on or off (tone your keypad
makes when keys are pressed) (see page 24).
GETTING STARTED