


20
• Passcodes
• Passcodes are provided to prevent easily confused end users from altering the
settings of the phone after a caregiver has congured it for them.
• Your unit has two factory set passcodes, one for editing or changing unit set-
tings and one for adding/editing phonebook records. Both default passcodes are
“0000”. You have the option to disable both (default), keep both, or keep one
based on your individual preferences.
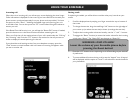
• To edit passcode functionality, press the “Settings” icon on your screen. If the
icon is not displayed, press “Menu” in the lower right corner of your screen, then
press “Settings”.
• To turn on the passcode(s), touch the “OFF” button – it changes to “ON”. The
default passcode(s) are set to 0000.
• To change passcode(s) – if you choose to have active passcodes – touch the ar-
rows next to the text “Change settings passcode” and/or “Change phonebook
passcode” – enter your custom passcodes. Please write down your passcodes and
save them for future reference.
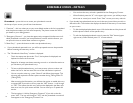
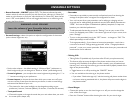
• Talking CID
• Talking Caller ID (available only if you have caller ID with your phone service)
• This feature will pronounce the digits of the phone number when you have an
incoming call (if available). If the phone number is saved in your phonebook and
the entry has a voice tag, the voice tag you recorded will be played (instead of the
digits of the phone number)
o Toggle feature on or off by touching the “ON/OFF” button.
o You can read either the voice tag or the phone number.
• If you select “Read voice tags only” and the incoming call phone number does
not have a voice tag associated with it, the phone will pronounce the digits in
the phone number.
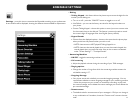
• Visual Ringer
• Choose this option to turn the visual ringer on or off; you can also change the
color of the visual ringer.
• Press the “Preview” button while choosing the color for your visual ringer.
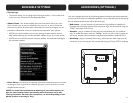
ENSEMBLE SETTINGS
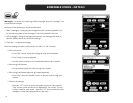
WARNING: LOUD VOLUME!
Lower the volume of your Ensemble before pressing the
Boost button!
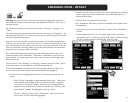
• Boost Override - ON/OFF (default: OFF). This feature indicates the audio
mode in which all calls are started; if you wish that all your calls start in “Boost On”
mode, turn this feature on; if all your calls should start in “Boost Off”, leave the fea-
ture in “Off” mode (default). You can still toggle the feature on or off during a call,
by using the Boost button.
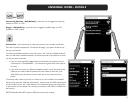
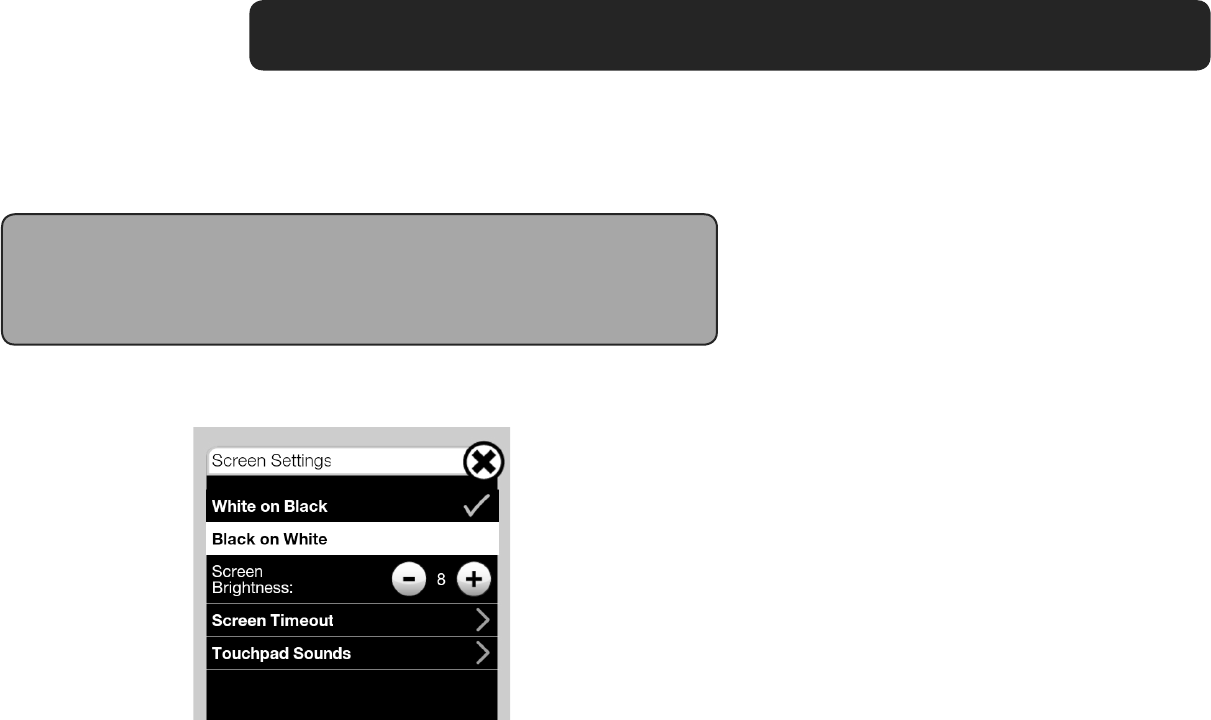
• Set the color scheme – the default setting is “White on Black” (white text on
black background); you can change it to “Black on White” (white background)
• Screen brightness - you can adjust the screen brightness by pressing the “+” or
“-” buttons according to your preference
• Screen timeout (to choose the time after which your screen turns off); your
unit turns off the screen after the timeout you choose, in order to save energy
and extend the lifetime of your unit
o The timeout for the screen backlight can be changed according to your
preference (1 minute, 5 minutes (default), 10 minutes, 15 minutes, 30 minutes).
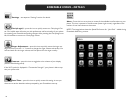
• Touchpad Sounds
o Choose this option to change the sound that your unit makes when you touch
the screen (clicks, beeps, etc)
• Screen Settings - select this option to adjust the conguration of the screen
(color scheme, brightness, etc)