


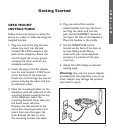
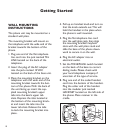

WALL MOUNTING
INSTRUCTIONS
The phone unit may be mounted on a
standard wall plate.
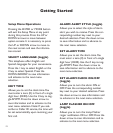
The mounting bracket will mount on
the telephone with the wide end of the
bracket towards the bottom of the
phone.
1. Plug one end of the flat telephone
line cord into the jack marked TEL
LINE located on the back of the
telephone.
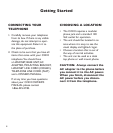
2. Insert the plug of the AC adapter
into the jack marked 12 VDC
located on the back of the base unit.
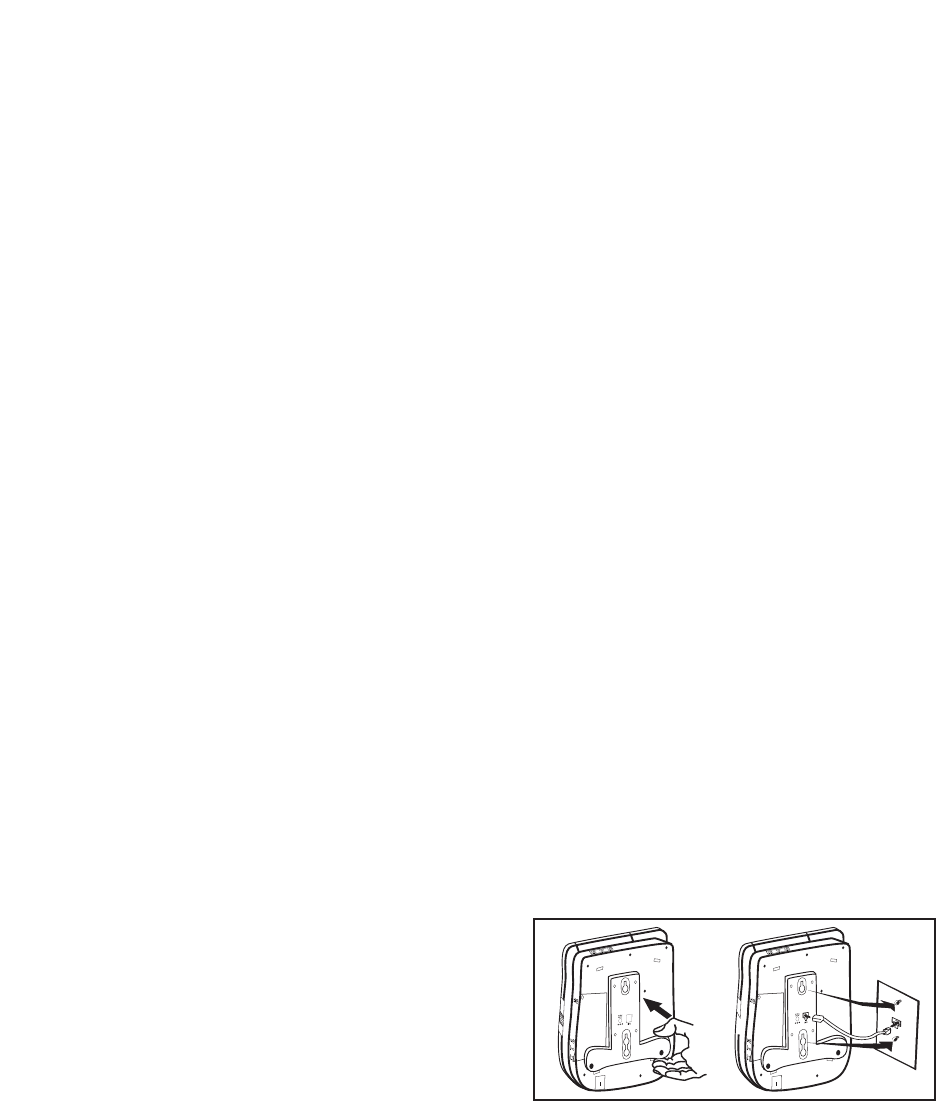
3. Place the mounting bracket on the
telephone with the wide end of the
mounting bracket towards the bot-
tom of the phone.With the back of
the unit facing up insert the sup-
plied mounting bracket’s upper
tabs into the base’s upper tab
slots. Depress the tabs located at
the bottom of the mounting brack-
et and insert the tabs into the
lower tab slots. Release the tabs
to lock the mounting bracket into
place.
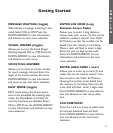
4. Pull up on handset knob and turn so
that the knob extends out.This will
hold the handset in the place when
the phone is wall mounted.
5. Plug the flat telephone line cord
into the wall plate jack, then align
the mounting bracket’s keyhole
slots with the wall plate studs and
slide the base of the phone down-
ward to secure it on the wall.
6. Plug the AC adapter into an
electrical outlet.
7. Set the TONE/PULSE switch located
on the back of the base to correct
dialing mode. Please check with
your local telephone company if
uncertain of the type of service.
8. Plug one end of the coiled handset
cord into the bottom of the handset.
Plug the other end of the handset
into the modular jack marked
HANDSET located on the left side of
the phone. Place receiver in the
cradle.
Getting Started
10