


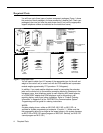
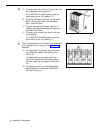
Assembling System Phones
You can either desk mount or wall mount a system
phone. If the system phone is manufactured with a
separate stand, you can use the stand to either wall
mount the phone or raise the angle of the phone when
desk mounting. (The stand is required for MLS-34D
phones.) Alternatively, some system phones—such as
the MLS-18D—are manufactured with a fixed stand. Any
instructions below for installing the stand do not apply to
this type of phone. (Wall mounting is not recommended
for display phones.)
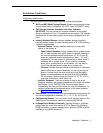
Desk Mounting
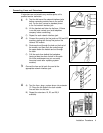
1
A)
B)
C)
D)
2
A)
B)
C)
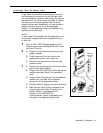
3
A)
B)
C)
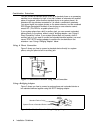
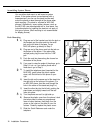
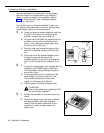
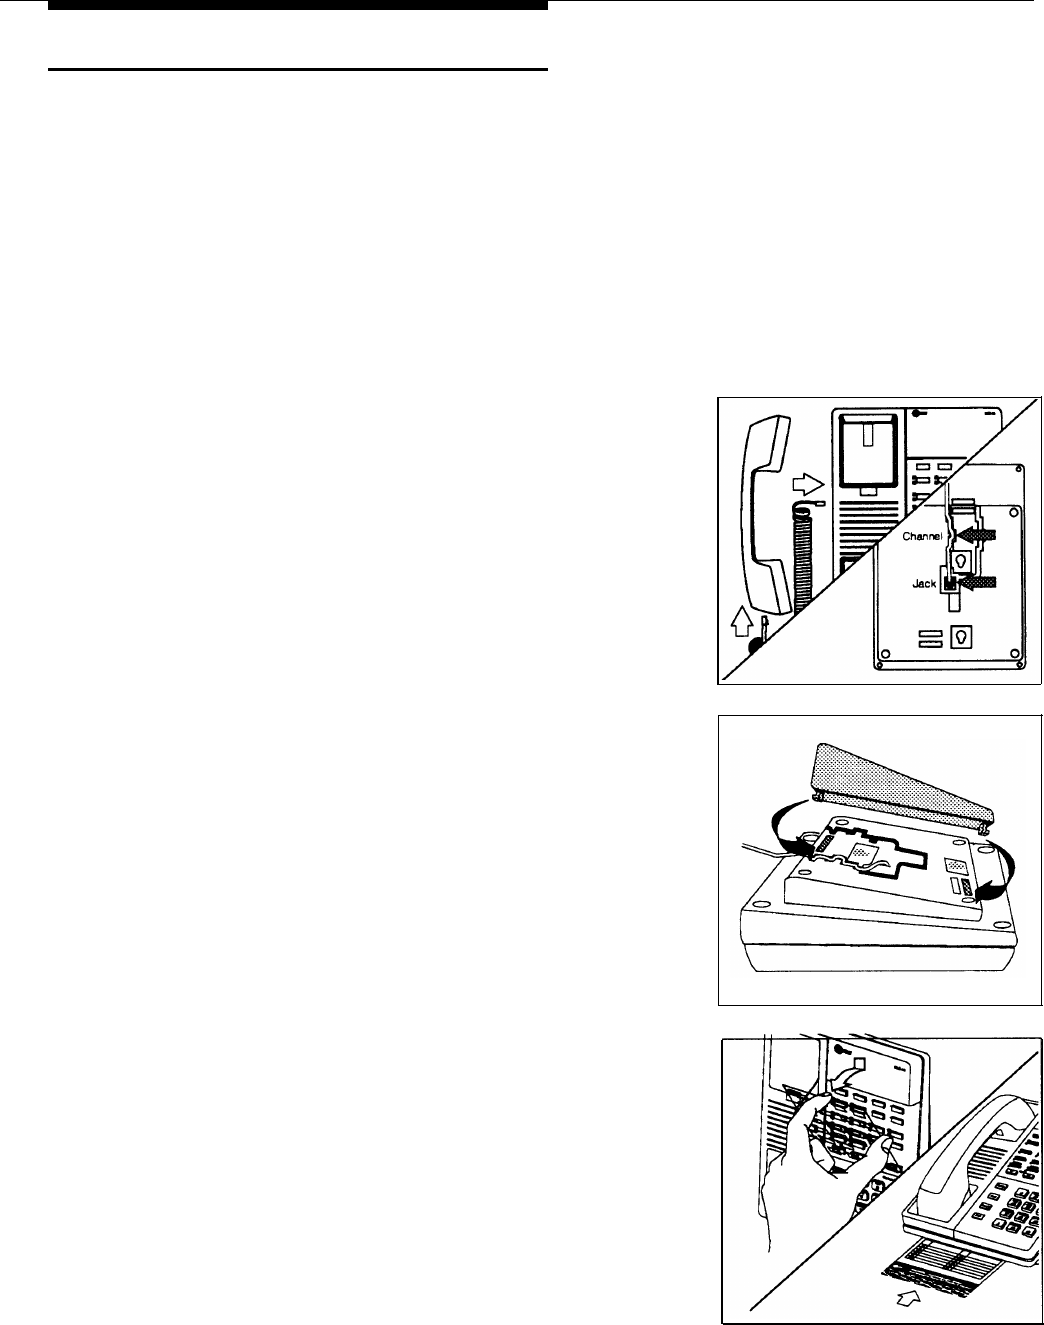
Plug one end of the handset cord into the jack on
the handset and the other end into the small
jack on the left side of the base. For an
MLS-34D phone, go directly to Step 2.
Plug one end of the phone cord into the jack on
the bottom of the phone. If the phone has
multiple jacks, plug the cord into the “LINE”
jack.
Push the cord into place along the channel on
the bottom of the phone.
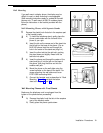
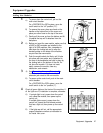
If you want to raise the angle of the phone, go to
Step 2; if not—or if you have a phone with a
fixed stand—go to Step 3.
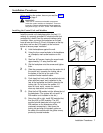
To install the telephone stand (required for the
MLS-34D), gently place the phone upside
down, with the low end of the phone to your
right.
Insert the tab on the narrow end of the stand into
the right slot on the bottom of the phone. (For
an MLS-34D phone, feed the cord through the
hole in the center of the stand and plug it in.)
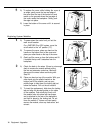
Insert the other tab into the left slot, pushing the
stand down and slightly inward until the tab
locks into place.
Turn the phone over so it is right side up.
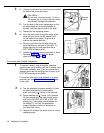
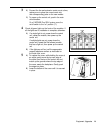
Remove the plastic cover from the phone. Label
the button sheet to show any programmed
lines or button features, then place it on the
phone so the holes on the sheet fit over the
buttons. Carefully replace the plastic cover.
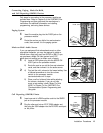
Slide the Quick Reference card under the
telephone.
12
Installation Procedures