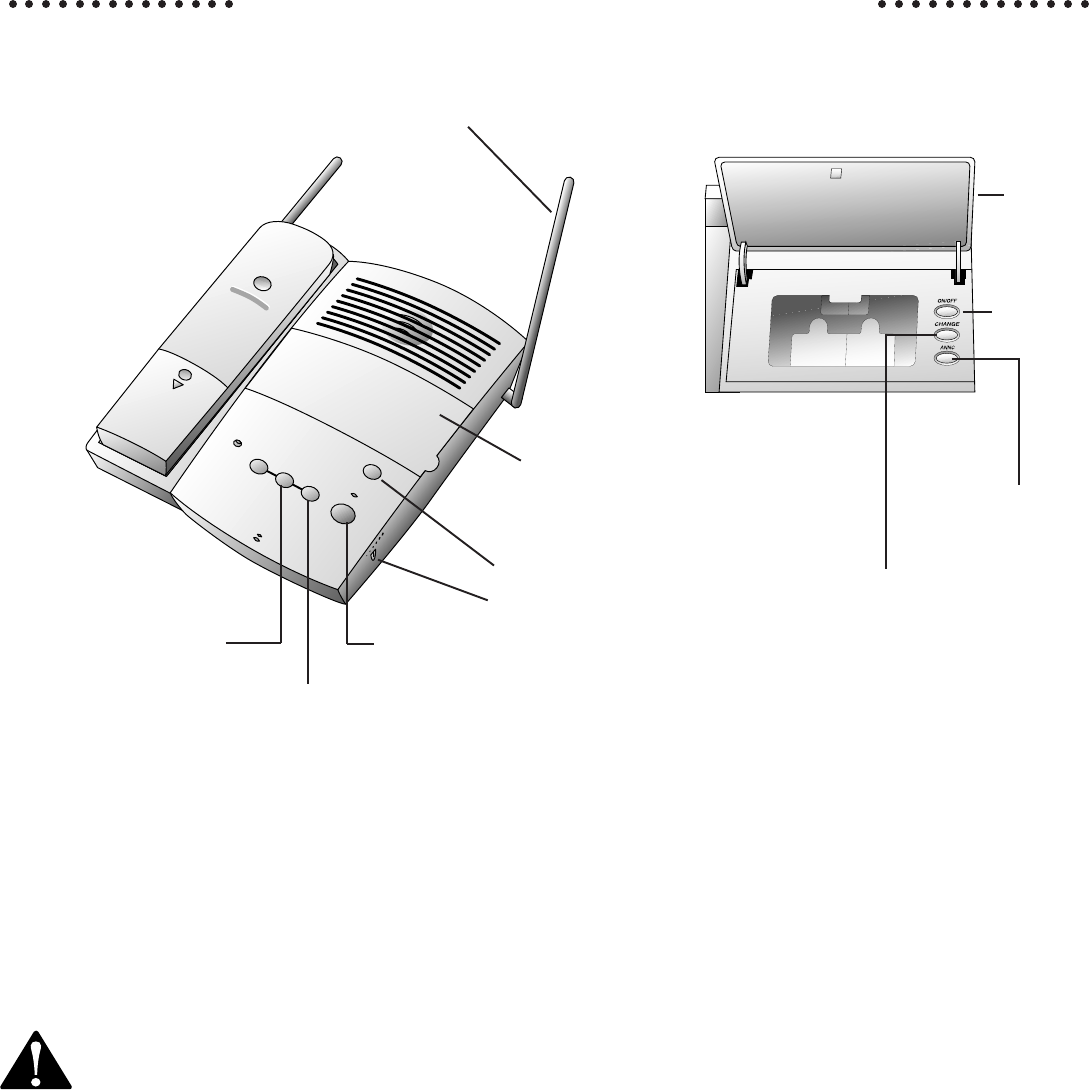
INSTALLATION
CHARGING
HANDSET IN USE
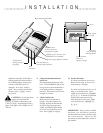
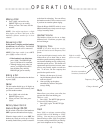
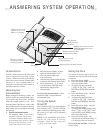
MEMO/REWIND
FAST FWD
SAVE
CLOCK
PLAY/STOP
VOLUME
Use with other
buttons to
change settings.
Base Antenna (extended)
Record or
play outgoing
announcement.
Cover
Turn system
on or off.
Lift panel door
to access features
(see figure at right).
Audible clock; also use with
CHANGE to set time/day.
Adjust message playback volume.
Save
messages.
Fast forward
during message
playback.
Play messages or
stop message playback.
should be on steadily. If the light is
flashing rapidly, the microcassette is
not installed properly. Remove the
cassette, and check to see if it's
damaged. If it's okay, install it
again. After you have installed the
cassette, press P to reset
the system.
CAUTION: Use only the power
supply provided with this
product. To obtain a replacement, call
1 800 722–9125. Power Supply DAS-2.
Input: 120V, 60Hz, 15W. Output: 9V AC,
780 mA.
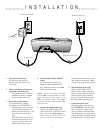
8 Charge the handset batteries
before use.
Place the handset face down in the
base. The CHARGING light on the
base goes on to show the handset is
in the right position to charge the
batteries. The batteries will be fully
charged in 14 hours.
9 Check for dial tone.
Make sure the base antenna is
upright. After the batteries are
charged, pick up the handset and
check for dial tone by pressing
P; the PHONE light should
go on and you should hear a dial
tone. Press P to hang up.
10 Set the dial mode.
If you have touch tone service, the
phone will be ready to use as soon
as the battery is charged.
If you have dial pulse service, you’ll
need to set the dial mode. Press
P (wait for dial tone), p,
#, #, #, 3. To return to touch tone
dialing with touch tone service,
when the phone is off, press P
(wait for dial tone), p, #,
#, #, 8.
IMPORTANT: After you have installed
the phone, you will need to record an
announcement that callers will hear when
the system answers. Please see the
Answering System Operation section of
this manual.
2


