


■
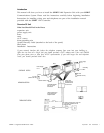
STEP 2 ATTACH EXPANSION UNIT TO MAIN CONTROLLER.
CAUTION: Do not place either the main controller or the expansion unit face down.
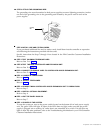
Remove the expansion unit, brace, strap, and ½” screws from the box. Slide the brace into the
four guides on the back of the expansion unit on the side with the exposed connector. If the
brace does not go on easily, do not force it. Turn the brace around and try the other side. Using
two of the ½” screws, attach the brace to the expansion unit.
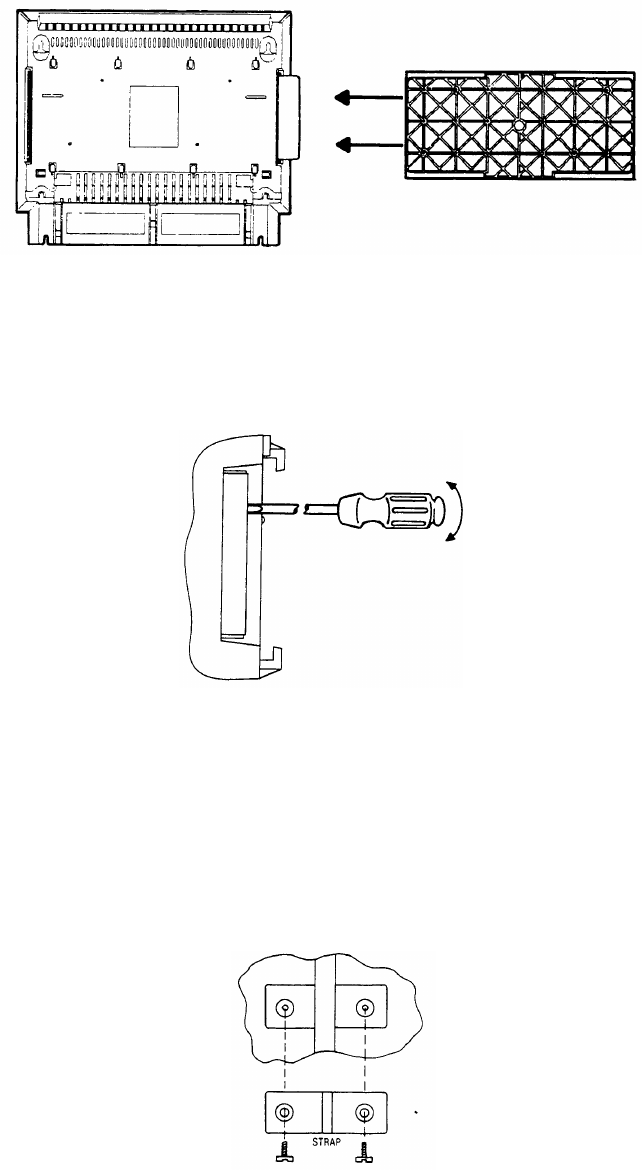
Remove the small strip of plastic from the recessed area on the right side of the main controller
by prying with a flathead screwdriver between the back of the controller and the strip. Break
the tabs and discard the strip.
Place the two controllers side by side, with the brace in the center. Using the brace as a guide,
push the two controllers together until the connectors are fully engaged. Using two of the
½“ screws, fasten the brace to the main controller.
Remove the panel (front cover) from each controller by first loosening the screw located at the
bottom center of each controller. Lift the panel up and away from the controller; the screw will
still be in the panel. Remove and discard the packing material inside the panel. Using the
remaining ½” screws, attach the strap between the main and expansion controllers in the middle
of the front faces.
MAIN
EXPANSION
Expansion Unit Installation 3