


Appendix
70
Expand your telephone system
The handset(s) and headset provided with your telephone system are already
registered. Each handset is assigned a number that displays on the handset.
Additional handsets registered to the telephone system are assigned in
sequential order. For instance, if the telephone system already has HANDSET 1
and HANDSET 2, the new registered handset is assigned HANDSET 3. After
registration, you may rename the handsets (see Rename handset on page 22).
This telephone system accommodates up to 12 handsets. You can register a
maximum of two cordless headsets (IS6100) to the telephone base. The telephone
base recognizes and counts a headset the same as a handset.
Add and register a handset
You can add new handsets (LS6405, purchased separately) to your telephone
system. Each handset must be registered with the telephone base before use.
When first purchased, each handset displays Put HS on BASE to register. You
may need to charge the handset before registering it to the telephone base. For
more details on battery charging, see page 4.
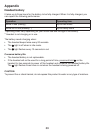
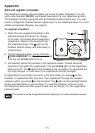
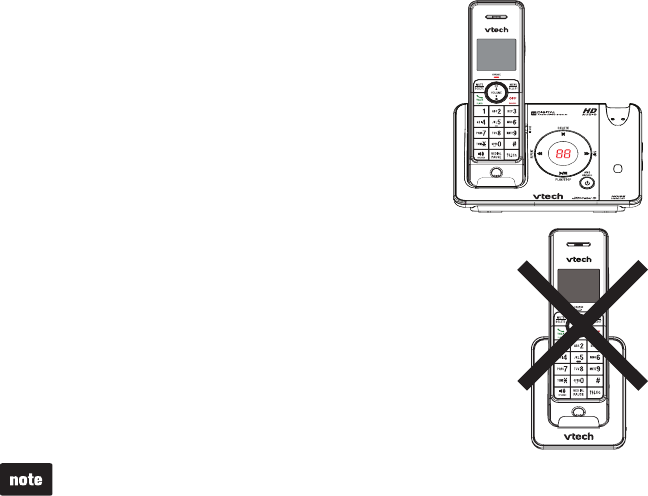
To register a handset:
Make sure the handset is out of the telephone base
or handset charger and shows
Put HS on BASE to register. Place the handset
you wish to register in the telephone base.
The handset displays Registering...Please wait
and the red IN USE light on the telephone base
turns on. It takes about 90 seconds to complete
the registration process. The handset displays
HANDSET X Registered (X represents the
registered handset number). The IN USE light turns off
and the handset beeps when registration completes.
If registration fails, the system will automatically try to register
again. If registration fails after the third try, the handset displays
Registration failed then Put HS on BASE to register. This
may take up to five minutes to occur.
To reset the handset, remove it from the telephone base.
When the handset displays Put HS on BASE to register, try
the registration process again.
After registration, the date and time needs to be reset. For instructions,
see Set date and time on page 19.
1.
2.