Set-up
Prior to use, the XO-1 beltpacks and the XO-AP base
station need to have their battery packs fully charged.
Refer to the charging instructions of this section for
instructions on charging.
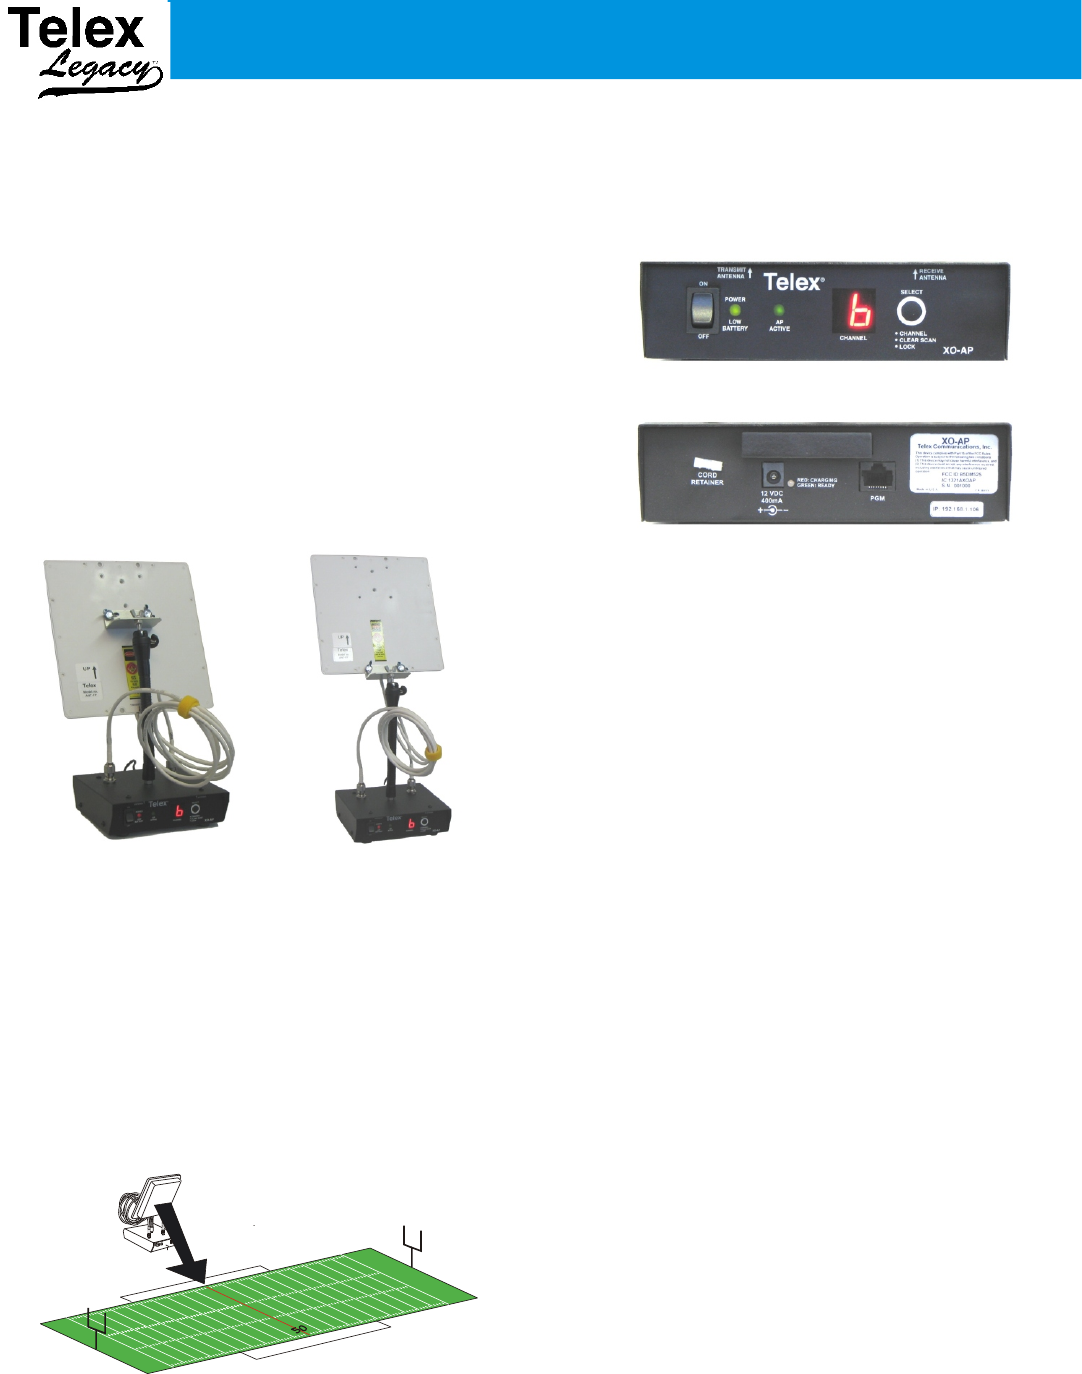
1. Place the XO-AP base station in the area of use.
2. Attached the two antenna cables from the antenna
to the XO-AP. The cable marked, “Receive”
connects to the receive jack on the XO-AP. The
cable marked, “Transmit” connects to the transmit
jack on the XO-AP. The front label of the XO-AP
indicates the RF (Radio Frequency) connector
designation.
3.
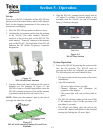
Aim the directional panel antenna at the area of
beltpack use. For example, in Figure 5-2, the
XO-AP is used in a football application where the
XO-AP is located in the press box and the antenna
is pointed toward the near side coach’s box.
NOTE: Make sure the antenna’s path to the area of
coverage has clear line-of-sight.
4. Plug the XO-AP’s external power supply into an
AC outlet if available. If external power is not
available then the XO-AP can run off internal
battery (if already charged).
System Operation
1. Turn on the XO-AP by pressing the power switch
into the On position. The XO-AP must be
powered-up before any beltpacks are turned on.
The following turn on events should follow:
• The power light on the front panel will activate
immediately.
• After 20 seconds the;
° AP active light will turn on solid.
° Channel indicator will illuminate all
segments of the display.
° The power light will turn red then back to
green.
• The XO-AP will then initiate a clear scan of the
11 RF channels of the 2.4 GHz spectrum (will
take about 4 seconds).
• The XO-AP will finally place the unit on the
clearest RF channel and indicate it has finished
booting by flashing the AP active light.
Section 5 - Operation
5-1
Point antenna toward
your Sideline.
XO-AP in the
Press Box
Figure 5-1
XO-AP and Panel Antenna
Figure 5-2
XO-AP with Antenna Pointing Toward Near
Sidelinde
Front View
Rear View
Figure 5-3
XO-AP Base Station


