


17
Caller ID Features
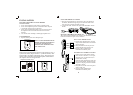
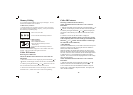
3. When you lift the handset, "PICKUP PHONE" will clear and the
number will be automatically dialed.
With current Telecom redialing situations, there are 4 redial options:
(1) 7 digits without a 1 prefix; (2) 7 digits with a 1 prefix; (3) 10
digits without a 1 prefix; and (4) 10 digits with a 1 prefix.
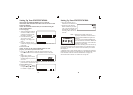
1. 7 digits without a 1 : Assuming that you have programmed your
correct area code, redial your local call by pressing the "Redial"
Button once.
2. 7 digits with a 1 : Assuming that you have programmed your
correct area code, scroll to the local 7 digit call you wish to redial.
Press and hold the "Redial" Button for 2 seconds.
3. 10 digits without a 1 : Due to the software setup of the
the user is instructed to insert their 3 digit local area
code. In some areas of the country, one must include their area code
when making a local call. To solve this issue, the user must reprogram
their to another 3 digit "fictitious" area code. (We
recommend using an area code not currently being used in the U.S.,
i.e... 100 etc.) Once your area code is programmed as above, your
will show all "10 digits" for every incoming call.
To redial a local 10 digit call, press and hold the "Redial Button" for 2
seconds. The "1" prefix is then omitted and the local 10 digit call is
redialed out.
4. 10 digits with a 1 prefix: Simply scroll to the desired Long Distance
10 digit call you wish to dial out. Press down the redial button once
and release. If your area requires that you add 1 and your area code
even if the call is within the same area code, then you must reprogram
your to another 3 digit "fictitious" area code. The
"1" prefix will be added before the 10 digit number and your long
distance call will be dialed out.
FM2552/FM2000
FM2552/FM2000
FM2552/FM2000
FM2552/FM2000
18
PM
CALL
Caller ID Features
Erase All Calls
1. Press the " or " Button to review all Caller ID records
received before erasing all calls.
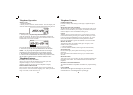
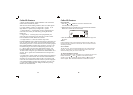
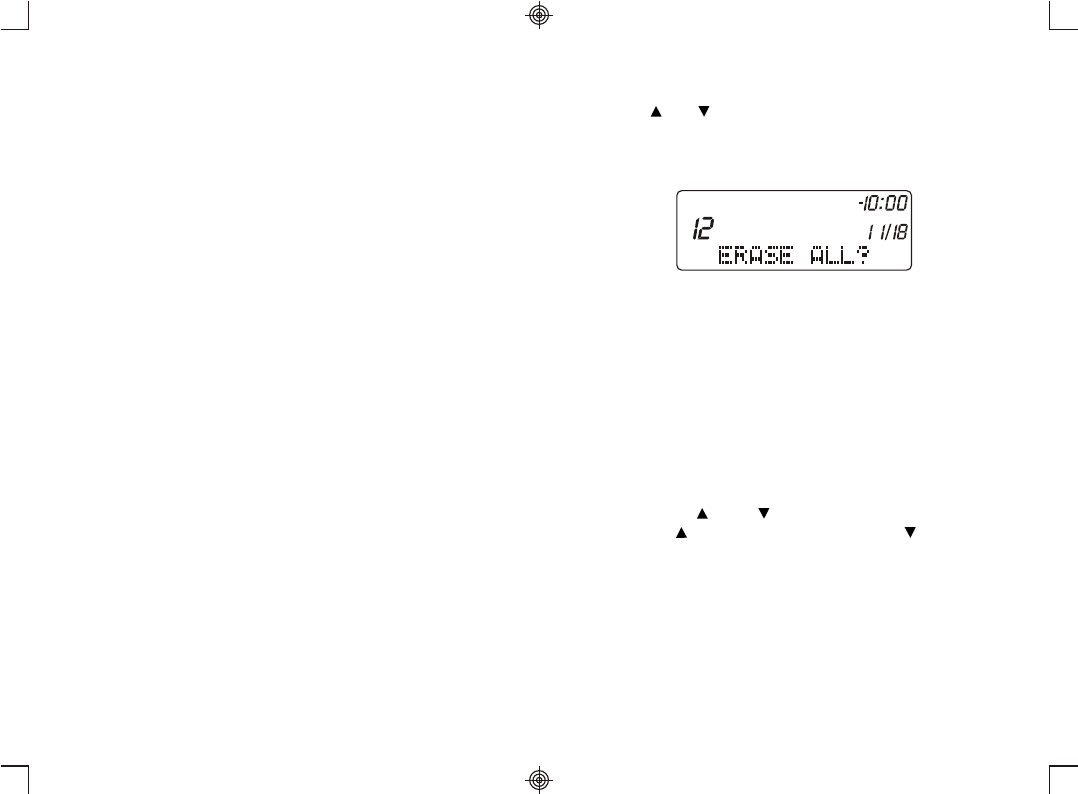
2. While the display is in standby mode, press and hold the "ERASE"
Button for 2 seconds.The LCD will show:
3. Press the "ERASE" Button again, then all VIEWED messages will
be erased .
""
NOTE:
In this condition, all the viewed messages will be erased. If there are
messages that have not been reviewed, the "Erase All Calls" function
cannot be performed.
New Call LED
The NEW CALL LED will flash to indicate a new call(s) has been
received. The NEW CALL LED and the NEW CALL ICON will
continue flashing until you review all new calls.
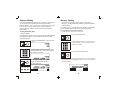
To Adjust The Display Contrast
When call information or the Time/Date screen is displayed, press and
hold the REVIEW " " and " " Button at the same time for 2
seconds. Press " " to make the contrast darker or " " to make the
contrast lighter. Press the ERASE Button to confirm the contrast.