32
US
Answering Machine Features
Setting up the answering machine
Setting the time and day of the week
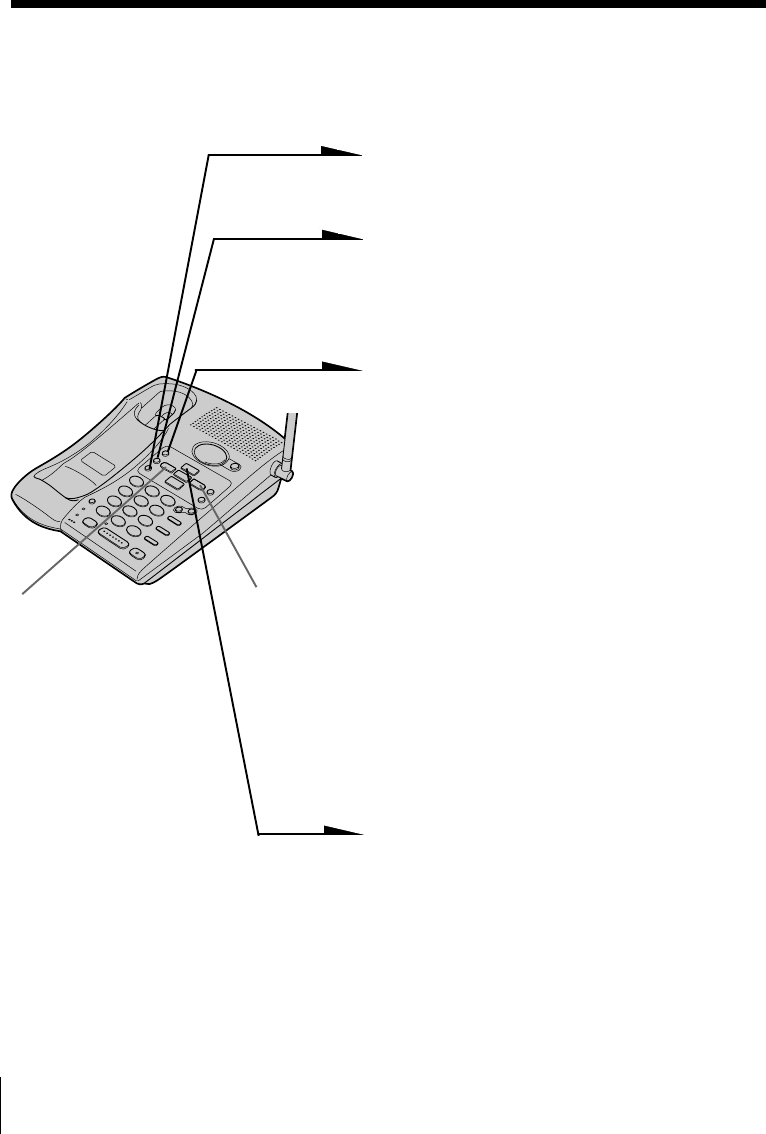
1 Press (MENU) repeatedly until
you hear “Set day and time”.
“- -” appears on the display.
2 Press (SELECT), and you’ll hear
voice guidance.
3 Press (REPEAT/SLOW) or
(SKIP/QUICK) repeatedly to
select the day of the week.
4 Press (TIME/SET).
The day is set and the hour is
announced.
5 Press (REPEAT/SLOW) or
(SKIP/QUICK) repeatedly to
select the hour.
6 Press (TIME/SET).
The hour is set and the minute is
announced.
7 Press (REPEAT/SLOW) or
(SKIP/QUICK) repeatedly to
select the minute.
8 Press (TIME/SET).
The day and time you just
entered is announced and the
clock restarts.
9 Press (PLAY/STOP) to exit the
menu setup mode.
Notes
• The time and day are preset to Monday, 12:00 AM.
• “PF” flashes when the day and time is cleared or delayed due to a power
interruption, or when you connect the base phone to the AC outlet for the first time.
• Do not allow more than 20 seconds (or 60 seconds when setting the minute) to elapse
between each step of the procedure.
• If a power interruption occurs, the day and time will be erased.
• If the current day and time are not set, you will not hear a time stamp when you play
back recorded messages. If you try to check the current time, you will hear five short
error beeps.
Answering Machine Features
(REPEAT/SLOW)
(SKIP/QUICK)


