SERMC Contact: Tad Hunt (402) 219-7378 thunt@stez.org SKC Contact: (800) 882-7779 contact.us@skccom.com 11
Cameras & Camera Presets
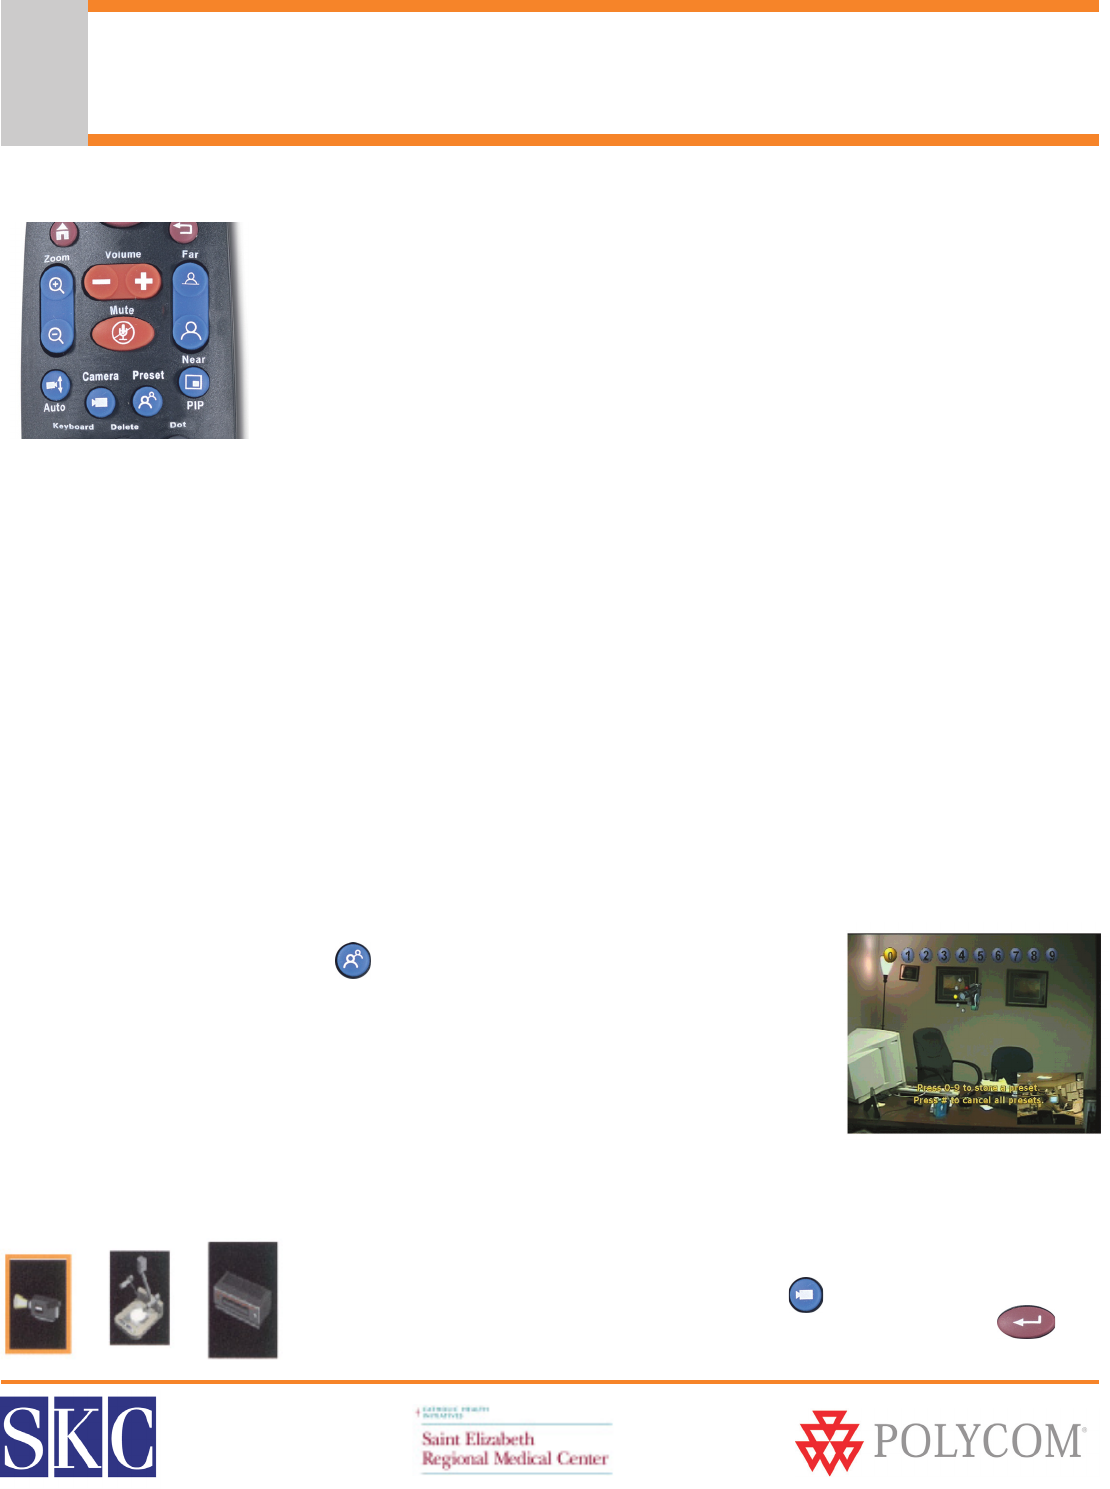
Controlling the Near and Far End Cameras
• Press the blue Near or Far button on the right side of the remote control
• The on-screen camera icon will point towards you if controlling the near end
camera, or away from you if you are controlling the far end camera
• Use the arrows on the remote to move the camera up/down and left/right
• The blue Zoom In/Out button will zoom the image as desired
• Note: Some system administrators will restrict far end camera control
What is a Camera Preset?
The Polycom unit can store 10 local camera presets, letting you aim and zoom to specific locations with the
touch of a button. You may also set up to 10 camera presets for the far end location, if their system supports
presets and they allow remote sites to control their camera. Presets provide a quick, convenient way to move
the camera to frequently used positions in the conference room.
To Store Camera Presets
• Press the blue Near or Far button on the right side of the remote to let the system know which
camera you are going to assign presets to
• Adjust the camera position as described above
• When at the desired location, press and hold 0-9 on the keypad
• The camera location will now be assigned that preset number
• To reassign a preset, re-aim the camera, then press 0-9. This will override the existing preset.
• To clear all stored Presets, press the # key
Using Camera Presets
• To view your presets, press the blue Preset button on the remote
• During a conference, press 0-9 to move the camera to its preset position
• You can also press the preset button, then arrow to the desired number
• The camera can be controlled with the arrows and zoom button after
being moved to a preset location. This will not affect or change your
preset assignments.
Displaying a Document Camera or DVD/VCR
• If you have purchased a document camera or DVD/VCR, it can be used during
video conferences
• Press the blue camera button on the remote
• Arrow to the Document Camera or DVD/VCR icon, then press enter
• To return to the main camera, repeat the above steps, selecting the first icon
