3
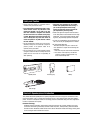
PLEASE READ PRIOR TO INSTALLATION
CAUTION: Majority of vehicles manufactured today include air bag systems that inflates with great force dur-
ing an accident. If necessary, contact the vehicle’s manufacturer for air bag information specific to the vehicle.
DO NOT place an object, including all components in the area over the air bag or in the air bag deployment
area. If the components are improperly installed, serious injury could occur during inflation of the air bag.
• Mount components securely to prevent shifting that could cause injury or interfere with the vehicle
being operated safely.
• This hands-free kit is intended for 12 Volt DC operation only.
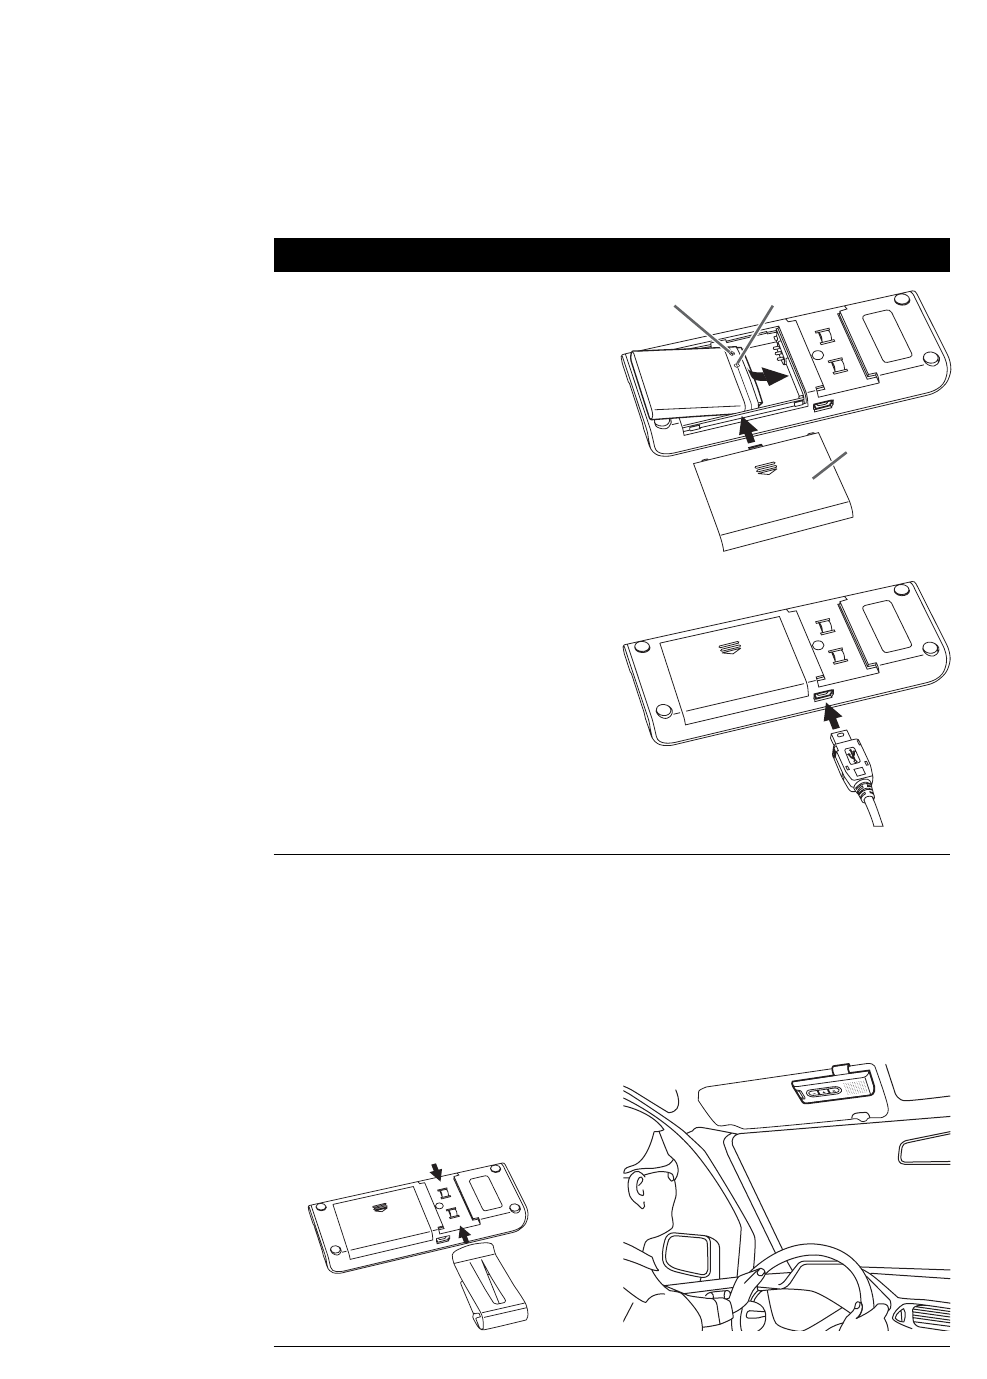
Installing the Battery:
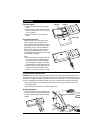
1. Remove the battery cover from the speaker-
phone.
2. Insert the battery into the speaker phone pay-
ing particular attention to the - and + indica-
tors on the battery.
3. Reinstall the battery cover on the speaker-
phone.
Charging the Speakerphone:
Insert the charger into a vehicle power outlet
and the charging plug into speakerphone’s
charging socket. Charge the battery fully before
using for the first time. Normal charging time is
approximately 3 hours. The LED indicator will
flash red when charging and will be off when
charging is completed. Remove the charger
from speakerphone and the vehicle power outlet
when charging is completed.
Notes:
1. Low power indication: The LED will flash red
every 3 seconds when the speakerphone is
running low on power. Charge the speaker-
phone immediately. If battery is not charged
the speakerphone will automatically shut off.
2. Charging indication may be delayed for a few
minutes if the speakerphone has not been
used for a long time or the battery is drained.
Installation
+
Indicator
-
Indicator
Battery Cover
Mounting Speakerphone:
Insert the mounting clip into the speaker phone.
The mounting clip can be inserted from the top
or bottom to accommodate different mounting
locations.


