


Installing your Avaya 1210 IP Deskphone
41
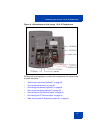
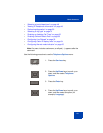
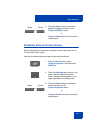
Wall-mounting the IP Deskphone (optional)
You can install your IP Deskphone on a wall. Wall-mount the IP
Deskphone using the two keyholes on the back of the IP Deskphone. You
do not need the foot stand for wall-mounted applications.
1. Remove the foot stand.
2. Ensure all cables are properly routed and the IP Deskphone is
functioning.
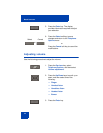
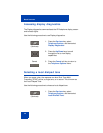
3. Make small marks on the wall where you want to align each keyhole
slot.
4. Insert the screws (not provided) so that they protrude slightly from the
wall.
5. Align the keyholes on the back of the IP Deskphone with the screws
in the wall.
6. Slide the IP Deskphone onto the screws to secure the IP Deskphone
in position.
Note: Call features and Flexible Feature Codes (FFC) must be
assigned to your IP Deskphone and supported by system software.
Contact your system administrator to configure these features and
codes on your IP Deskphone.