2
INSTALLATION
Before installing, check with your service provider to ensure that you
have subscribed to Caller ID with Call Waiting (combined service), and
voice mail service (if you intend to use the visual message waiting
feature in this phone).
1 • When you install a 9V alkaline battery (purchased separately), this
unit will retain information stored in memory in the event of a
power failure.
• You’ll need a Phillips head screwdriver to open the battery
compartment.
• Remove the sticker from the display screen.
2 Set the dial mode.
If you have touch tone service, set the switch on the handset to TT.
If you have dial pulse (rotary) service, set the switch to DP. Even
if you have dial pulse service, you can still use telephone services
requiring tone signals. See “Temporary Tone Dialing” in the
TELEPHONE OPERATION section of this manual.
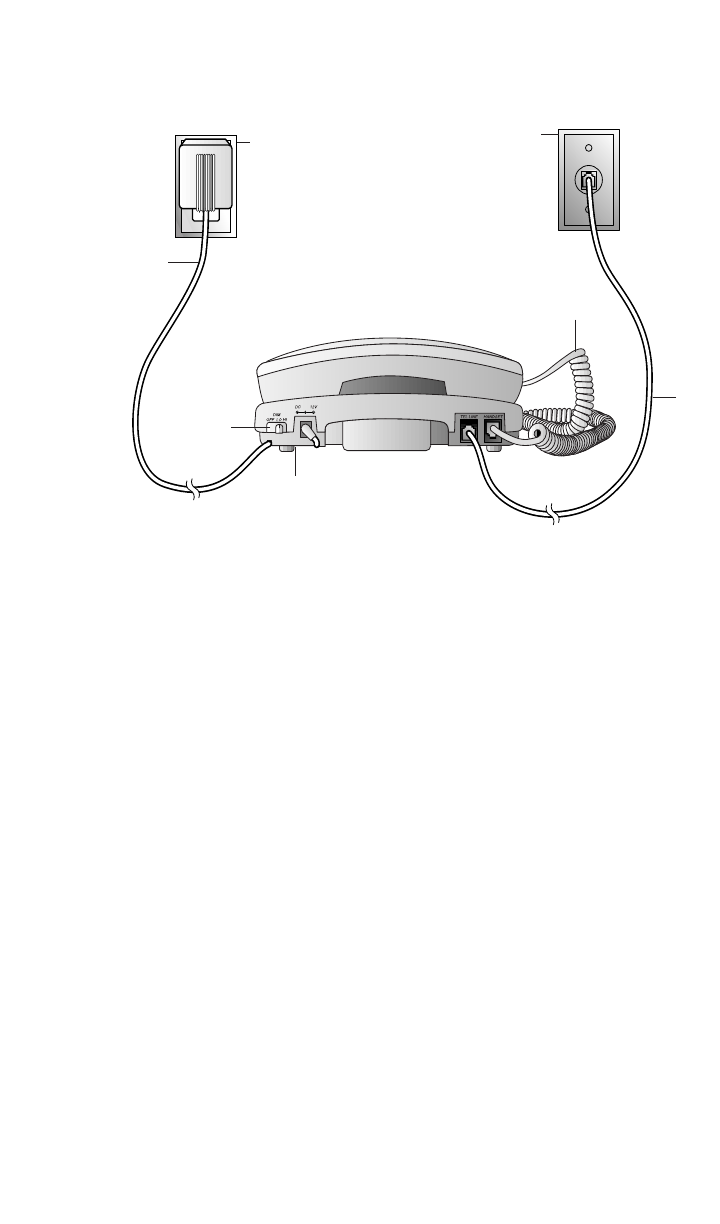
3 Connect the telephone line cord.
Plug one end of the telephone line cord into the jack labeled TEL
LINE on the back of the telephone. Plug the other end of the line
cord into a modular telephone wall jack. Make sure the plugs snap
firmly into place.
Standard
AC Outlet
Modular
Wall Jack
Display
Dimmer
Switch
Power
Cord
Strain-relief
groove
(under set)
Coiled
Handset
Cord
Line
Cord


