


8
Getting Started
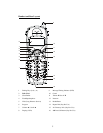
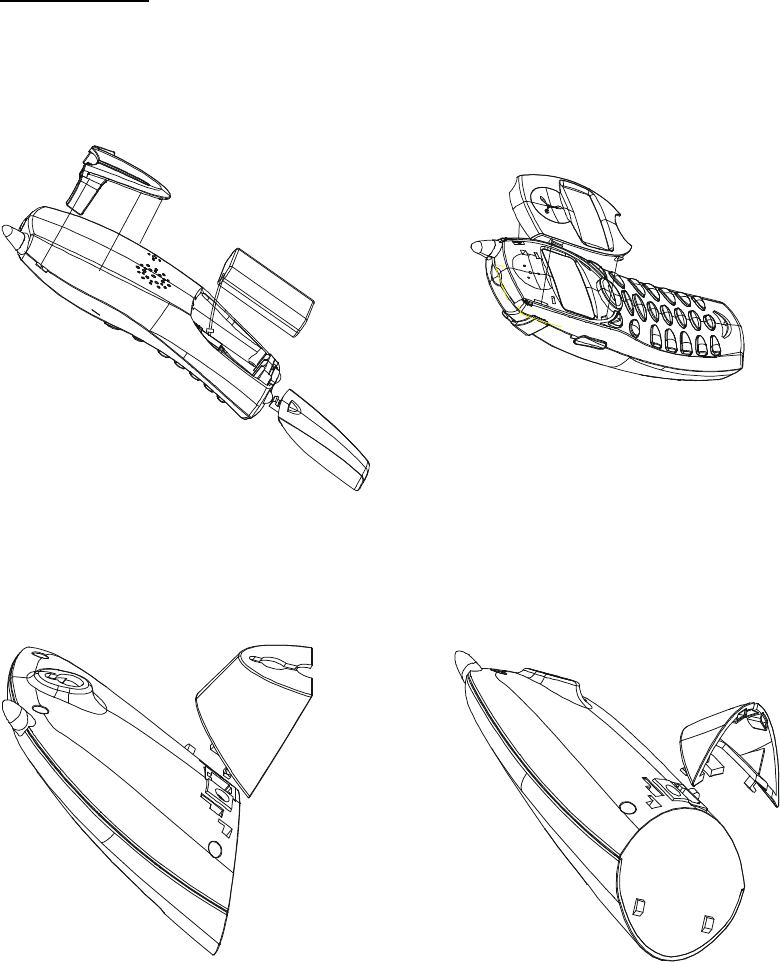
Install and Charge the Battery Pack
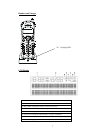
1 Open the battery compartment by sliding the cover down.
2 Plug the Battery Pack connector into the Handset socket, then place the battery pack and wires in the
compartment.
3 Slide the battery cover back into place.
4 (Optional) Attach the belt clip and change color face plate, if desired.
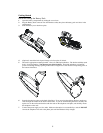
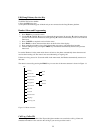
5 Choose the appropriate mounting bracket. One is for tabletop installations. The bracket with the round
hole is for wall mounting. You must use one of the brackets. Thread the telephone cord and DC
power cord through the large opening in the bracket. Plug the two cords into the corresponding jacks on
the bottom of the Base.
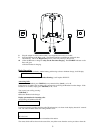
6 Snap the bracket into place on the back of the Base. If you are using the tabletop bracket, run the two
cords through the channel at the back of the bracket. If you are wall mounting the Base, carefully line
up the slots on the wall mount bracket with the studs on the telephone wall plate, and carefully mount
the telephone on the wall.
7 Connect the power supply to a live outlet. Make sure the outlet is not controlled by a switch. DO NOT
connect the telephone line cord to the phone jack until the Handset is fully charged.