- 20 -
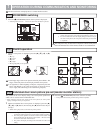
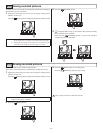
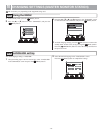
CALL TONE
DOOR [ 2 ]
ENTRANCE [ 1 ]
GUARD [ 3 ]
(175$1&(&$//721(
3,&785(0(025<'225
[ [
[ [
[
[
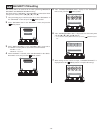
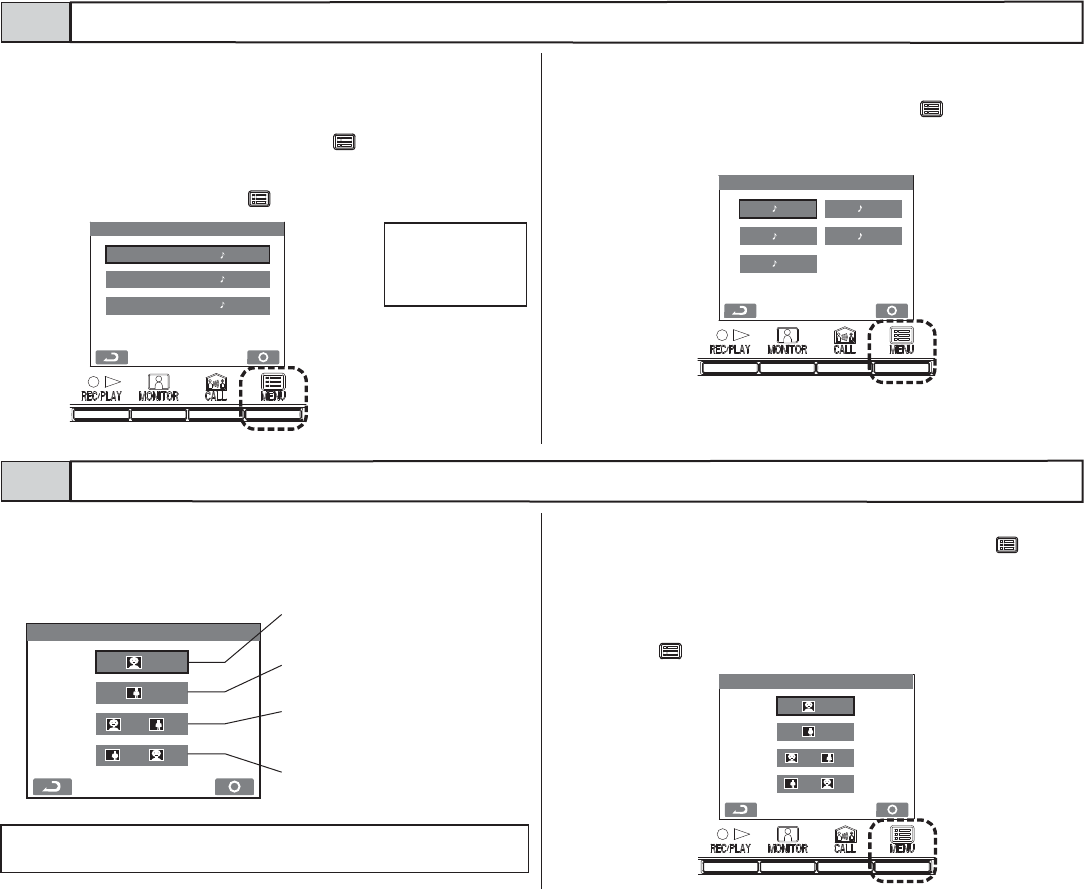
1 After performing steps 1 and 2 in section 10-1, select "CALL TONE"
in the "SETTINGS" screen and press the [
MENU] button.
2 Select one from "ENTRANCE/DOOR/GUARD" in the "CALL
TONE" screen, and press the [ MENU] button.
3 In the separate "CALL TONE" screens for "ENTRANCE/DOOR/
GUARD", select the desired call tones. The selected call tone sounds,
enabling you to check the sound. Press the [
MENU] button to
complete the settings.
• The sub master monitor station call tone will also change.
Separate sounds can be selected for entrance stations, individual door sta-
tions, and security guard stations from 5 sound types.
CALL TONE switching10-3
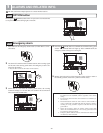
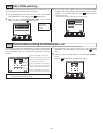
For automatic recording at an individual door, select the recording method
for recording pictures (up to 6 for each image) from the following four
types. In the initial settings, all six pictures are zoom pictures at a pre-set
position.
Picture memory setting for individual door call10-4
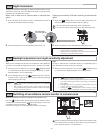
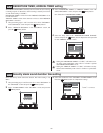
1 After performing steps 1 and 2 in section 10-1, select "PICTURE
MEMORY" in the "SETTINGS" screen and press the [ MENU]
button.
2 Select the picture recording method in the "PICTURE MEMORY"
screen.
Press the [ MENU] button to complete the settings.
Initial settings
ENTRANCE : 1
DOOR : 2
GUARD : 3
NOTES: The set picture recording method does not apply to pictures displayed
during a call from the entrance station.
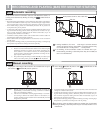
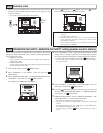
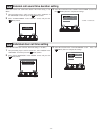
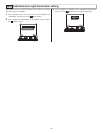
PICTURE MEMORY (DOOR)
x 3 + x 3
x 3 + x 3
x 6
x 6
Pictures are automatically recorded. All six
pictures are zoom pictures at a pre-set position.
Pictures are automatically recorded. All
six pictures are wide pictures.
Pictures are automatically recorded. First three
pictures are zoom pictures at a pre-set position,
and the next three pictures are wide pictures.
Pictures are automatically recorded. First three
pictures are wide pictures, and the next
three
pictures are zoom pictures at a pre-set position.


