


20
CALLER ID OPERATION (CONT.)
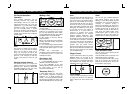
Reviewing All Call Records
1. After you have reviewed all of the new
calls, press “▲” or “▼” buttons. The LCD
display will show the calls stored in memory.
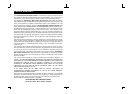
2. After the last call record is reviewed,
the LCD will show “-- END --”.
Caller ID Redial
THE LOCAL AREA CODE MUST BE
PROGRAMMED IN ORDER TO FULLY
UTILIZE THE REDIAL FEATURE (SEE
PAGE 14). The GH3012 allows you to
redial a phone number stored in the
Caller ID memory.
1. Press the “▲” or “▼” button to select
the Caller ID number that you want to dial.
2. Press and release the CALLS button
which activates the handset to dial the
desired number. The number will scroll
across the screen from right to left as it is
dialed.
With current telecom redialing situations,
there are 4 redial options:
(1) 7 digits without a 1 prefix
(2) 7 digits with a 1 prefix
(3) 10 digits without a 1 prefix, and
(4) 10 digits with a 1 prefix.
(1) 7 digits without a 1 :
If the area code of the Caller ID number
matches to the setting of your GH3012,
redial your local call by pressing the
CALLS button ONCE.
(2) 7 digits with a 1 :
If it is necessary to insert a 1 prefix to
your local call, simply press the CALLS
button TWICE WITHIN 2 SECONDS.
(3) 10 digits without a 1 :
In some areas of the country, the area
code must be included even when
dialing a local call. In this situation, set
your GH3012 area code to another 3
digits not being used in the U.S. i.e.
100,etc. Once your area code is
programmed as above, your GH3012 will
record all 10 digits for every incoming
call. Since the prefix 1 will be added
automatically when dialing a 10 digit
number, press the CALLS button TWICE
WITHIN 2 SECONDS for a local 10 digit
call without a prefix 1.
(4) 10 digits with a 1 :
Since the prefix 1 will be added
automatically when dialing a 10 digit
number, simply press the CALLS button
ONCE to make your call.
NOTE:
Use caution when pressing the CALLS
button. Press and release rapidly. If the
CALLS button is pressed and held for
more than 2 seconds, the VIP CALL
feature will be activated.
To Store a Caller ID Number to
Memory:
1. Press “▲” or “▼” buttons to select
number from Caller ID list.
2. Press MEM button. The LCD display
will show “LOCATION ? x”
3. Press the location number. The LCD
display will show “MEM x STORED”.
21
CALLER ID OPERATION (CONT.)
Caller ID Erase
To Erase a Single Call
1. Press the “▲” or “▼” button to
review the Caller ID records you
received.
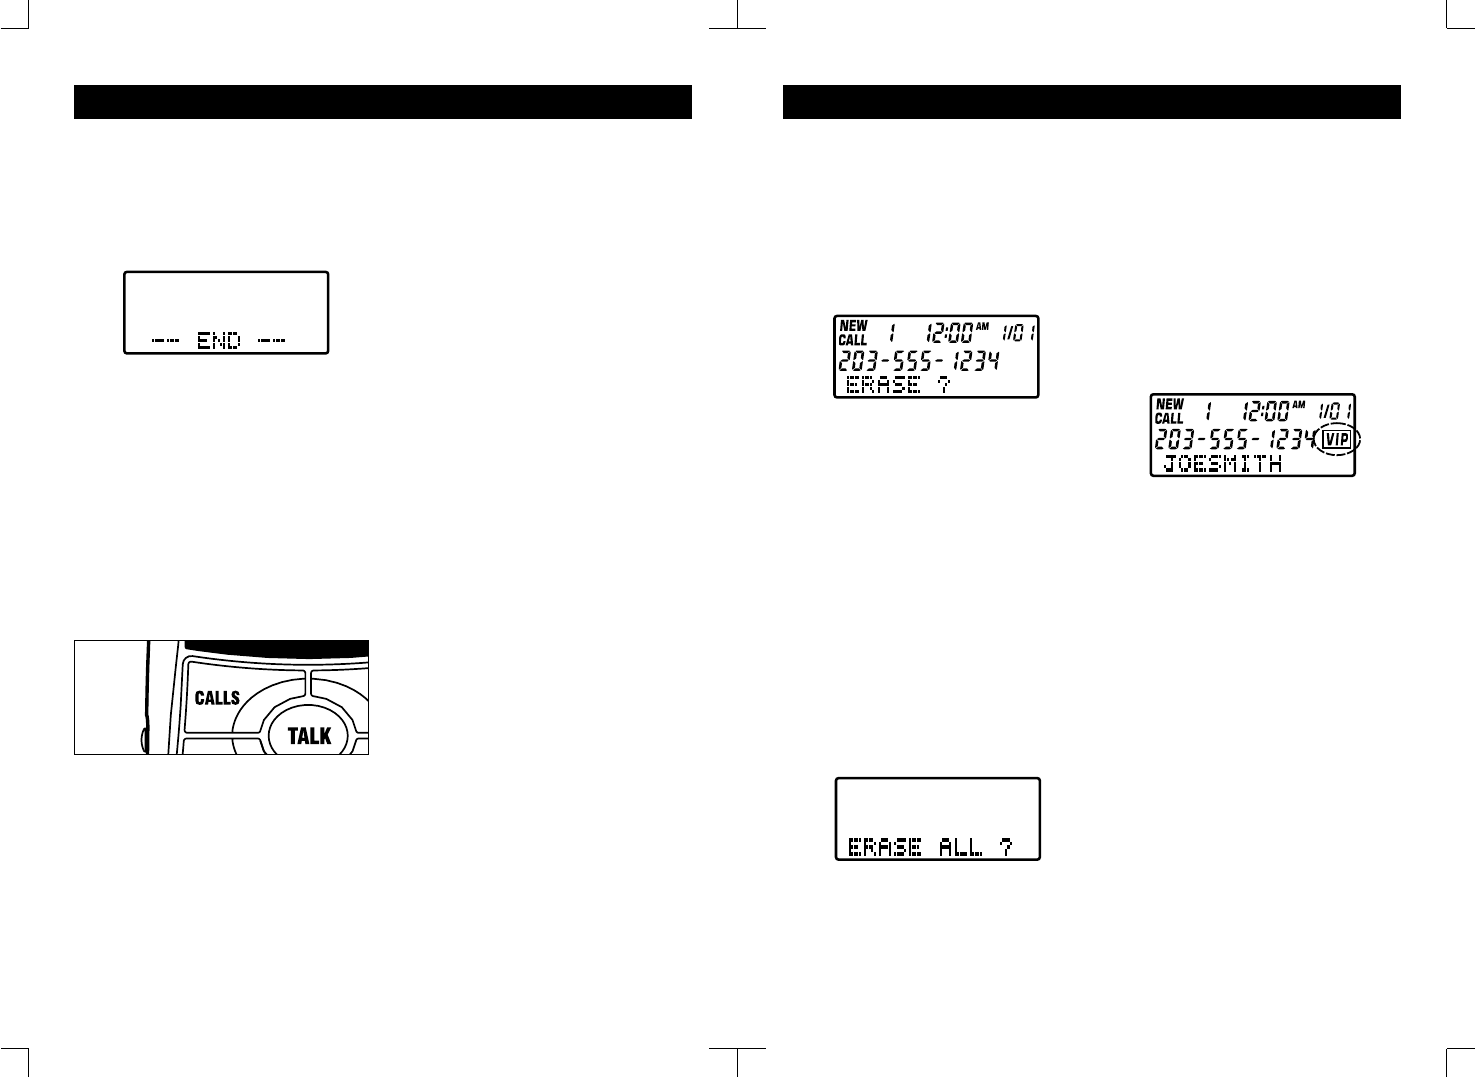
2. Press DEL button to erase the call
displayed; the display will show “ERASE
?” on the bottom line.
3. Press DEL button again; the Caller ID
will be erased and the display will show
the next message.
NOTE:
If the current message displayed is the
last message, then the display will return
to standby mode.
To Erase All Calls
1. Press the “▲” or “▼” button to
review the Caller ID records received
before erasing all calls.
2. While the display is in standby mode,
press and hold the DEL button for 2
seconds. The display will show “ERASE
ALL ?” on the bottom line.
3. Press the DEL button; all VIEWED
calls will be erased.
NOTE:
1. If there are messages that have not
been reviewed, the “Erase All Calls”
function cannot be performed.
2. VIP calls will not be erased when you
erase all calls.
VIP Calls
The GH3012 allows you to create VIP call
records. When a VIP call is received, 4
beeps will sound between rings, to alert
you this is a VIP call.
To Create a VIP Call record :
1. Press the “▲” or “▼” button to
select the Caller ID which you want to
assign a VIP ringer.
2. Press and hold the CALLS button for
2 seconds. The “VIP” icon is displayed.
NOTE:
4 beeps will also sound when the
incoming VIP call is a Call Waiting call.
To Remove a VIP Call :
1. Press the “▲” or “▼” to select the
call you have marked “VIP”.
2. Press and hold the CALLS button for
2 seconds. The “VIP” icon will disappear.