Page 14
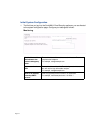
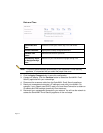
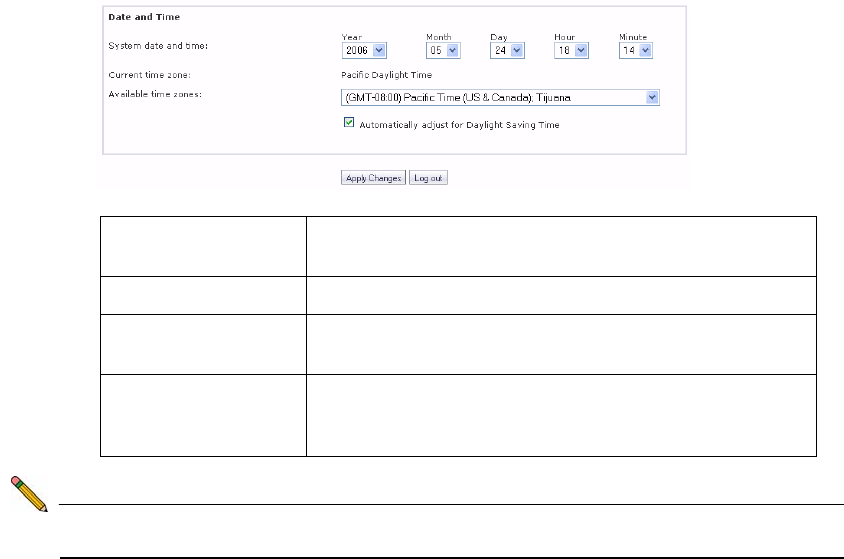
Date and Time
Note: To ensure optimal network performance of your SonicWALL Email Security
appliance, it is important that you select the proper time zone.
2. Click the Apply Changes button to save this configuration.
3. A popup will display. Click the Continue button to reboot the SonicWALL Email
Security appliance with your new settings.
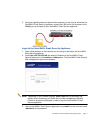
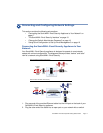
4. Disconnect the crossover cable from the SonicWALL Email Security appliance.
5. Reset your management computer’s IP settings to work with your network. For
example, if your network uses DHCP, reset your Local Area Connection to obtain an
IP address and DNS settings dynamically from the server.
6. Reconnect your management computer to your network. You will use the network to
access the SonicWALL Email Security appliance in the next steps.
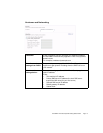
System Date and
Time:
Select the current year, month, day, hour, and minute.
Current Time Zone: Displays the currently configured time zone.
Available Time
Zones:
Select the time zone for your area.
Automatically Adjust
for Daylight Savings
Time:
Select this if your area observes Daylight Saving Time.


