11
3. The Reset button (Figure 5) will light up if
the machine becomes overloaded. Press
this button to re-start the machine.
4. The Emergency Stop Button shuts down all
operations on the planer. An automatic
brake stops the motor within 10 seconds. A
similar stop button can be found at the back
of the machine. To restart the machine,
simply twist the stop button and allow it to
pop back up
5. To begin the feed motor and rotation of the
feed rollers, press the Potentiometer button
on the dial. Rotate the dial to set the feed
speed. Speed ranges from 16 to 72 feet per
minute. The numbers on the dial are shown
as 1 to 11; the higher the number, the faster
the speed. To stop the feed motor press the
Potentiometer button again.
6. The Brake Release switch frees the
cutterhead so that it can be moved by hand
(e.g. when changing knives). When the
brake release is on, the switch stays lit. As a
safety feature, the planer’s motor will not
start if the brake release switch is lit. And if
the switch is pushed during operations, the
motor will automatically stop. To restart the
planer, de-press the brake release switch;
the light will turn off.
7. To raise the table press the up-arrow
buttons; to lower the table press the down-
arrow buttons. The single arrows raise the
table slowly, the double arrows rapidly.
Calibrating Digital Display
Before operating the planer, the digital display
should be checked for accuracy and calibrated if
necessary. Use a scrap board.
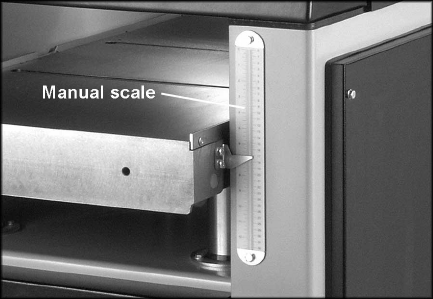
1. Set the table to just under the thickness of
your scrap board, using the scale next to the
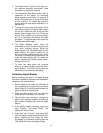
table (Figure 6). Feed the board through the
planer to achieve a planed side.
2. Raise the table slightly until the adjoining
scale pointer is set evenly on a number.
3. Flip the board over and feed it through the
planer, then carefully measure its thickness
with calipers. Compare this with the digital
display.
4. If the display needs correcting, press and
hold “Function,” and press “Reset”. The
display will return to zero.
5. Press and hold “Function,” and press “Set”
until the display shows the thickness of your
board. Tapping the “Set” button will move
the display by increments; holding down the
“Set” button will move the display rapidly.
Figure 6


