


SoundStation Premier Installation Instructions and User's Guide
4
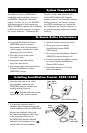
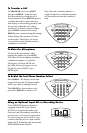
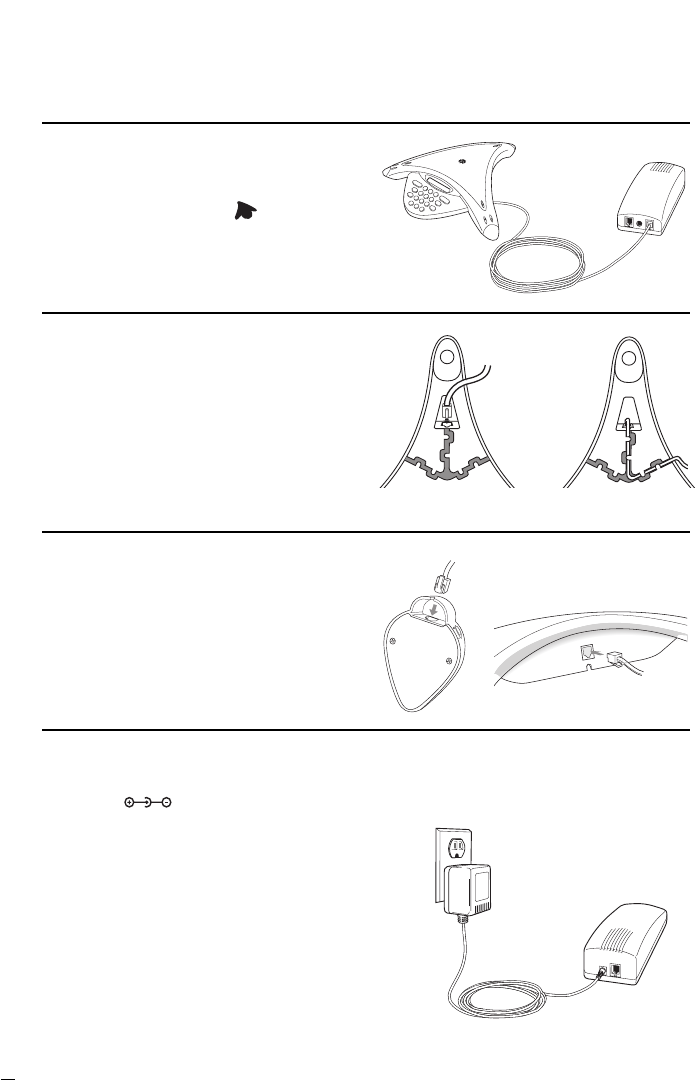
6. Plug the Power Adapter Cable into
the 500D/550D Interface Module jack
marked
then plug the Power
Adapter into the electrical outlet.
The first time the SoundStation Premier
500D/550D is powered up and
connected to the network through the
500D/550D Interface Module, it will
run a brief self-test and synchronize
itself with your telephone network.
During this time the LEDs will blink.
When the process is complete you
will hear a “bong” tone and the
LEDs will switch off. (This process
can take 20 seconds.)
Extended
Microphone
SoundStation Premier
550D Console
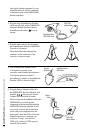
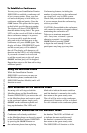
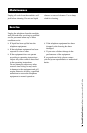
3. Plug the long SoundStation Premier
cable into the jack on the 500D/550D
Interface Module labeled with the
SoundStation Premier (
)icon as
shown.
4. Plug the other end into the slot under
the SoundStation Premier 500D/550D
Console as illustrated.
Then thread the cable through the
channels on the underside of the
console as shown at right.
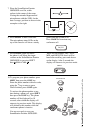
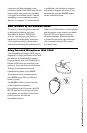
5. The SoundStation Premier 550D
is designed for greater room
coverage with extended microphones.
If using the optional extended
microphones, connect to SoundStation
Premier 550D as shown at right.
Any digital phone supported by your
telephone network can be connected
to the phone jack on the 500D/550D
Interface Module.
SoundStation Premier
500D/550D Console
500D/550D
Interface Module
500D/550D
Interface Module
Power
Adapter
Electrical
Outlet