


MODEL NM100WH
Page 5
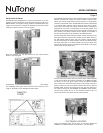
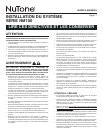
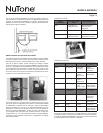
INSTALLING THE NC300 CD CHANGER
Connect the audio cables to the audio jacks of the NC300 player as
showninthegurebelow.Afterconnectingtheaudiocablesand
maincable,connectthepowercordfromtheNA200TAtransformer
to the power connector on the NC300 CD changer. Please refer to
the installation manual packed with the NC300 CD changer.
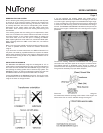
Ensuring that nothing is between the CD player and the back of the
rough-in(includingcables),placetheNC300playerintothelower
opening of the frames including the NF200C or NF100C frames.
Use the screws provided to secure the unit in place.
Use the screws provided with the remote station to screw the remote
station and frame into place. The holes in the remote station align
with the holes in the mounting plate. The remote station keeps the
plastic frame in place on the wall.
Note that the plastic frames are paintable. Please prime the plastic
rst andthen apply standard roompaint. The whiteplastic may
require two coats of paint to get full coverage. It is recommended
that you paint the frame prior to mounting it to the wall.
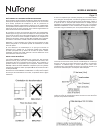
Important: Please label all cables at both ends.
Incorrectly connecting cables to the master, remote
stations or door stations could result in system
damage.
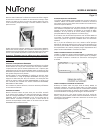
OUTDOOR REMOTE STATIONS
Do not remove the existing outdoor remote station rough-in. The
NuToneretrotsystemisdesignedtotintotheexistingenclosure.
It is important to note that the outdoor remote stations are weather
resistant not water proof. These stations should not be located in
anareathatisindirectlineofwaterfromsprinklers,rainorother
devices such as power washers.
Please use the NF300PWH frame in outdoor and high sun areas.
The NF300PWH plastic is designed to withstand sun and resist
fading. If a patio requires a surface mount application, use the
NRKS200PWH. This is a surface mount box and cover that will
support the NPS200WH, NPS103WH or NPS104WH outdoor
remote stations.
To install an outdoor remote station follow the instructions presented
earlier for indoor remote stations.
DOOR STATIONS
Remove the old door station but do not remove the rough-in box
or surface mount box. When replacing a NuTone door station you
mustusetheNF300DWHmountingframe.TheM&Sdoorstation
sets in the NF300DWH frame and the screws attach to the existing
rough-in. Connect the door station with the corresponding color
wires. Screw the door station or door station with NF300DWH frame
into the rough-in box.
EXTERNAL MUSIC SOURCE
The NM100 retrot system supports the use of external music
sources. You can use an existing connection or run a new wire to
support local source connection. To install a new local source follow
the steps detailed in the following paragraphs.
Choose a location for the IA30WH audio wall plate that will be easily
accessible to the sources that are to be connected to the system
(closetothereceiver,TVorDVDplayerforexample).Note:the
external source wire run to the NM100 must not exceed 50 feet.
At thislocation, attacha singlegang box includedin theIR30K
rough-in to a wall stud at a center height of normal wall outlets. Use
a low voltage plaster ring in existing construction installations.
Make sure the single gang box extends past the wall stud and into
theroomsoitwillbeushwiththesheetrockwhenitisapplied.
Run the Red and Black shielded audio cables (included in the
IR30K) from the master unit location to the IA30WH audio wall plate
location. Connect the cables.
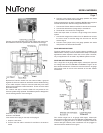
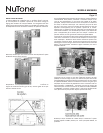
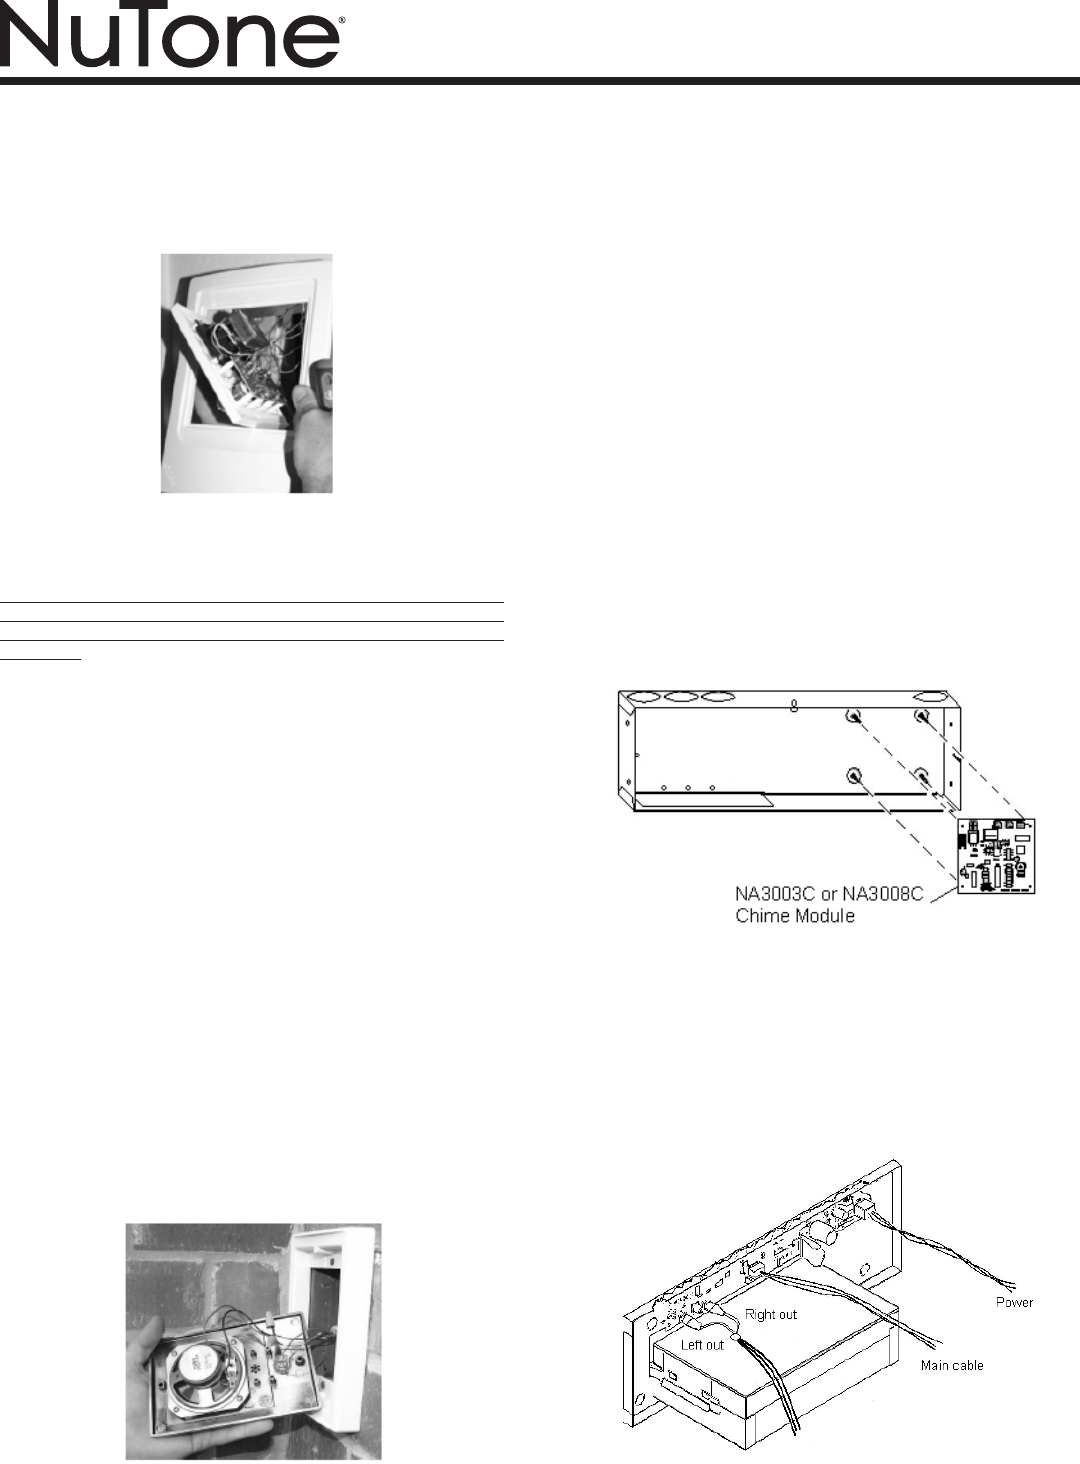
INSTALLING THE CHIME MODULE
Install the NA3003C or NA3008C optional chime module in the
rough-in by pressing the chime module over the 4 plastic standoffs
attachedtotherough-inasshowninthefollowinggure.Referto
the instructions shipped with the chime module.