23
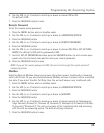
6. Use the VOL (+ or -) buttons to scroll up or down to choose ON or OFF.
The default is ON.
7. Press the SEL/SAVE button to save.
Remote Password
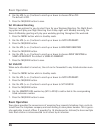
To set the remote access password;
1. Press the MENU button while in standby mode.
2. Use the VOL (+ or -) buttons to scroll up or down to ANSWERING SYSTEM.
3. Press the SEL/SAVE button.
4. Use the VOL (+ or -) buttons to scroll up or down to REMOTE PASSWORD.
5. Press the SEL/SAVE button.
6. Use the VOL (+ or -) buttons to scroll up or down to choose ON, OFF or SET UP PASS-
WORD. The default is OFF and the password is 000.
7. Scroll to SET UP PASSWORD and then press the SEL/SAVE button to start remote pass-
word entry. Use the touch tone pad to enter your remote password.
8. Press the SEL/SAVE button to save.
NOTE: If you set the remote password to OFF, the unit will not accept the remote access of
answering system.
Mailbox
Selecting General Mailbox allows you to have the system answer transferred or incoming
calls to all 4 lines. Or you may choose Personal Mailbox to have it answer calls to a selected
line only. If you select Transfer Call Only, then the unit will answer only transferred calls.
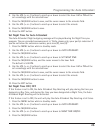
1. Press the MENU button while in standby mode.
2. Use the VOL (+ or -) buttons to scroll up or down to ANSWERING SYSTEM.
3. Press the SEL/SAVE button.
4. Use the VOL (+ or -) buttons to scroll up or down to MAILBOX.
5. Press the SEL/SAVE button.
6. Use the VOL (+ or -) buttons to scroll up or down to choose among the following set-
tings: General, Personal L1, Personal L2, Personal L3, Personal L4, or Transfer Call Only.
If you select “Personal L2”, the unit can answer all the transferred calls and incoming
calls from L2 by answering system. The default setting is General.
7. Press the SEL/SAVE button to save.
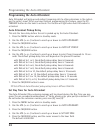
Programming the Answering System


