Handset
Connecting the CALLMASTER VI to the PC
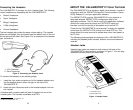
A handset with a custom cable operates when plugged into one of the
headset jacks. The handset and cable are provided as a D-Kit.
The pin-outs of the headset jack are compatible only with the handset
provided in the D-Kit. Plugging in equipment that does not meet the
Lucent specification may damage the voice terminal and/or the
handset.
Buttons
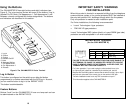
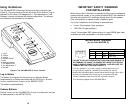
The CALLMASTER VI voice terminal has eight raised buttons and one
Message Waiting indicator (see Figure 5). Six of the buttons
represented in Figure 5 can be administered on the DEFINITY ECS.
These are buttons 1, 2, 3, 7, 8, and 9.
Voice Announcement Recording
The Announcements Recorder feature in the application software and
the CALLMASTER VI voice terminal enables recording and playback
of personalized announcements. You can record up to 6
announcements at a length of 9.6 seconds per announcement. The
application software provides the user interface to record and play
back the announcements, while the CALLMASTER VI provides the
sound chip for which announcements are recorded (via the headset)
and stored.
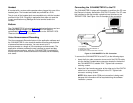
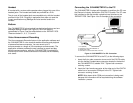
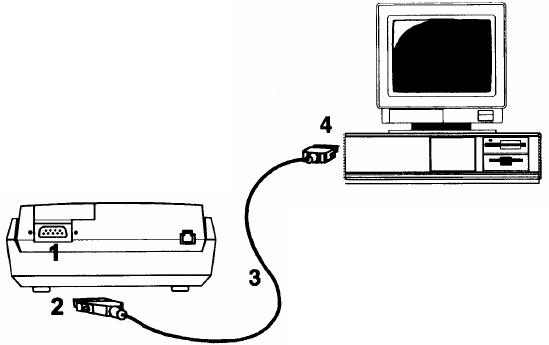
The CALLMASTER VI relays call information to and from the PC over
the Electronic Industry Association (EIA/TIA-574) cable. The PC uses
this interface to dial and provide a graphical user interface to the
DEFINITY ECS. See Figure 4 for an example of this connection.
1. EIA (labeled)
2. Connection to the CALLMASTER VI
3. EIA/TIA-574 Cable
4. Connection to a Serial COM Port on the PC
Figure 4: CALLMASTER VI to PC Connection
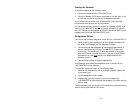
To connect the CALLMASTER VI to the PC, do the following steps:
1.
Insert the 9-pin male connector at one end of the EIA/TIA cable
into the female D-subminiature connector located in the back of
the CALLMASTER VI, labeled “EIA.” Tighten both connector
retaining screws.
2.
Insert the 9-pin female connector at the other end of the EIA/TIA
cable into an unoccupied COM port in the PC. Tighten both
connector retaining screws.
NOTE: Write down which COM port connection is being used,
because this information will be required during the software
installation process.
2
7


