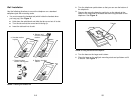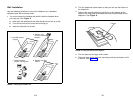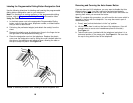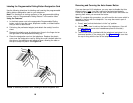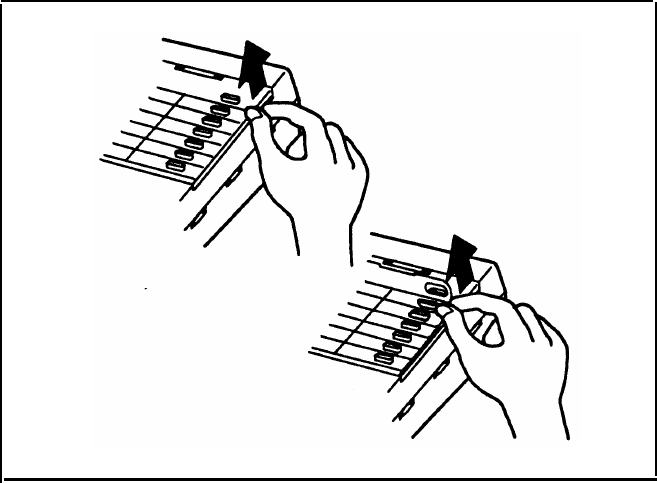
Labeling the Programmable Dialing Button Designation Card
Use the following directions for labeling and inserting the programmable
dialing buttons designation card on your telephone.
Note: For directions on storing numbers on the programmable dialing
buttons, refer to "Programmable Dialing Buttons" in the section titled
Using the Features.
1
In the blank space next to the appropriate Programmable Dialing
button, write or type the name, telephone number, or dialed feature
that you want to store there.
2
Fold along the perforated edge(s) and detach the card(s) from the
sheet.
3
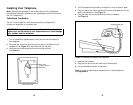
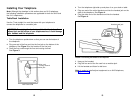
Remove the plastic cover by placing your finger in the finger slot on
the right side of the telephone and lifting up.
Removing and Covering the Auto Answer Button
If you are have an 8110 telephone, you may want to disable the Auto
Answer button ([
Auto ]) so that it cannot be activated accidentally.
Follow this procedure to remove the Auto Answer button and cover the
opening from which you removed the button.
Note: To complete this procedure, you will need the slot cover which is
shipped in the box with the telephone. You may also need a pair of
needlenose pliers.
Place the designation card on the telephone. Replace the plastic
cover over the designation card by fitting the cover's bottom tabs into
the slots on the telephone and pressing down, allowing the tabs on
the top to snap into place. See Figure 10.
1
2
3
FIGURE 10 Removing the Plastic Cover; Installing the Button Designation Card
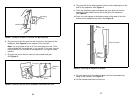
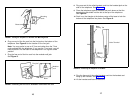
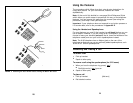
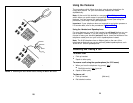
Press [ Auto ] so that the button is in the "up" position
Lift the button from its slot on the face of the telephone. (You will
probably want to use a set of needlenose pliers for this task.)
See Figure 11.
Take the slot cover (provided with the telephone) and place it in a
horizontal position in the empty slot. See Figure 11. Be sure that
the cap is snug with the face of the telephone.
4
18
19


